Netlify became a popular Continuous Delivery (CD) and hosting solution for a lot of organizations due to its simplicity and power. Pick your repository, click "Deploy site" ... and the site magically appears.
The example below shows me adding the cypress-io/netlify-plugin-cypress-example repository to Netlify. It is a static blog built using Gatsby, and Netlify has correctly detected the right build command gatsby build and the right output folder called public to deploy.
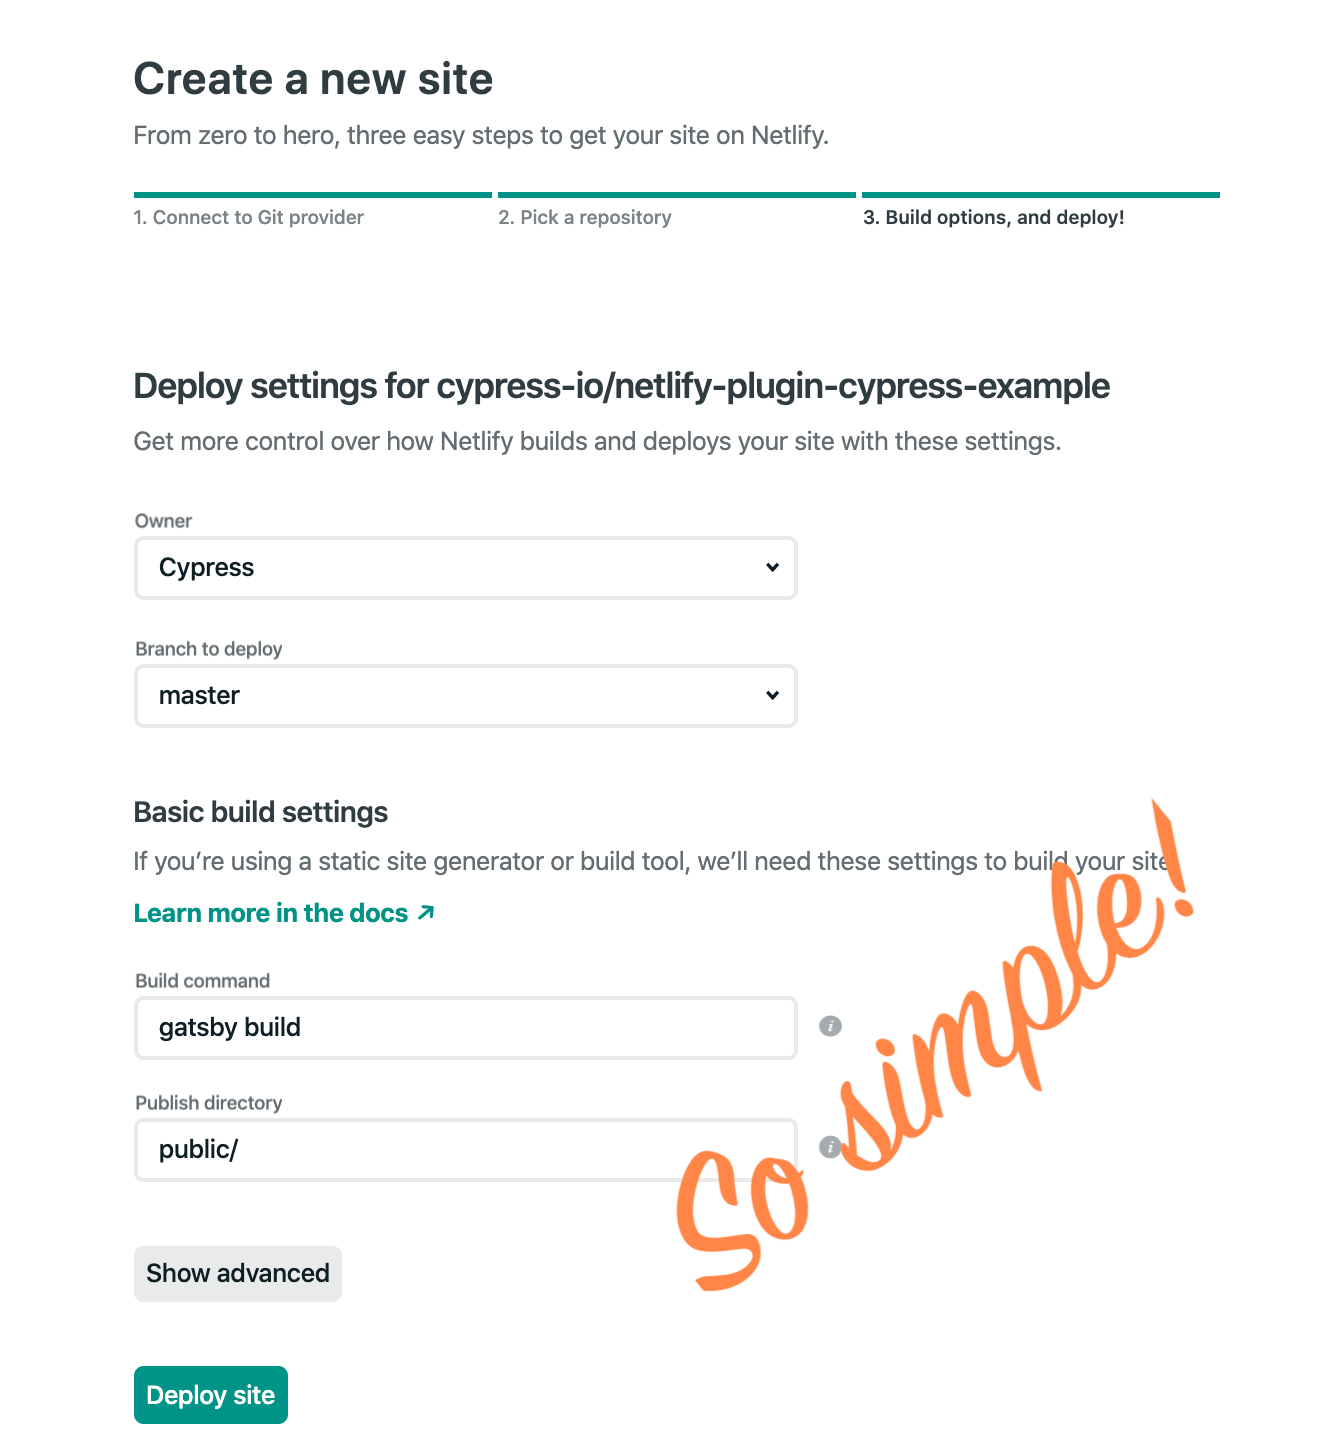
You can see the deployed site at https://netlify-plugin-cypress-example.netlify.com/, and the first deploy took less than two minutes, as you can see from Netlify Deploys page.

Every time we push a new commit to this repository, or open a pull request, the new site is built and deployed. If there was one downside to Netlify is that it can deploy a broken site. There is no place for a testing command or script. You could write gatsby build && cypress run as a build command, but that never really worked right. Thus we had to use a separate Continuous Integration (CI) service like CircleCI or GitHub Actions to run Cypress End-to-End tests on every commit. The problem is by the time we see the failed built on CI, the Netlify has already happily deployed the broken version to production, so we have to roll back the deploy to a previous version. Not ideal.
That all has changed after Netlify has announced its Build Plugins (Beta) program.
Build Plugins
The plugins (written in JavaScript) are called by the Netlify's system during the build. Each plugin can do something before the build step or after it. For example, one could run Cypress tests after the command gatsby build finishes ... you guessed it correctly: this is exactly what our plugin netlify-plugin-cypress does 😄
Let's see this in action. Because the Netlify system "knows" every build parameter, it passes the output folder path to the plugin. The user does not need to do any configuration by default. Really, it is 1-line operation.
First, enable the Build Plugins (Beta) for specific projects by selecting the Build Plugins (Beta) button on the "Sites" page or by visiting https://app.netlify.com/teams/<your team name>/enable-beta

Next, add your site to the list enabled for beta. Below, I add the newly added netlify-plugin-cypress-example project to the list.
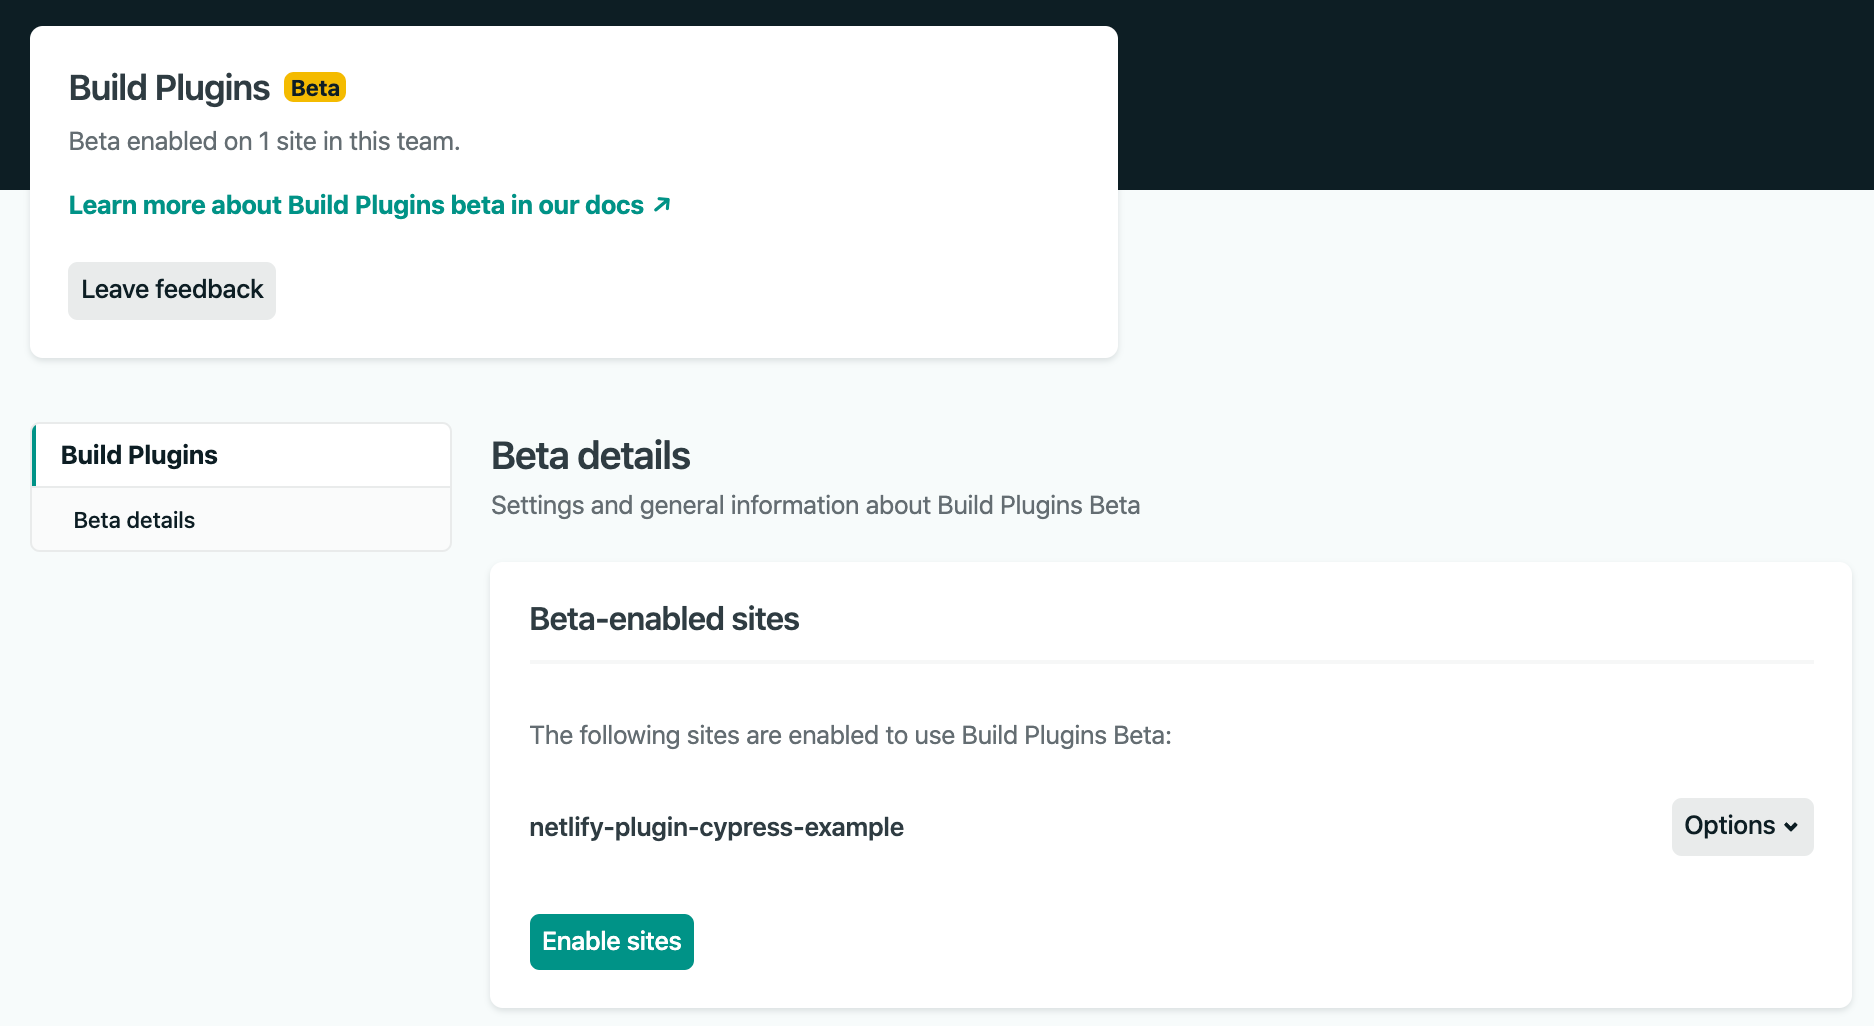
Tip: after you have enabled plugins for the new site, check out the displayed link https://app.netlify.com/teams/cypress/plugins showing other plugins besides Cypress.
Cypress Netlify Plugin
Web interfaces are nice for simple configurations that only have a build command and an output folder. For more complex scenarios, Netlify suggests using a configuration file. Let's add a configuration file called netlify.toml to the repository. To get started I will just add the name of the plugin I want to use in the format. below: netlify-plugin-cypress.
[[plugins]]
  package = "netlify-plugin-cypress"
Then, in your project root folder, install the plugin netlify-plugin-cypress as a development dependency using NPM or Yarn.
$ npm i -D netlify-plugin-cypress
+ [email protected]
We assume your repository already has Cypress installed and some end-to-end tests. Commit your changes and push the code. When Netlify Deploy runs, you will see new colorful commands in the log - this is the sign that the new Build pipeline is working.
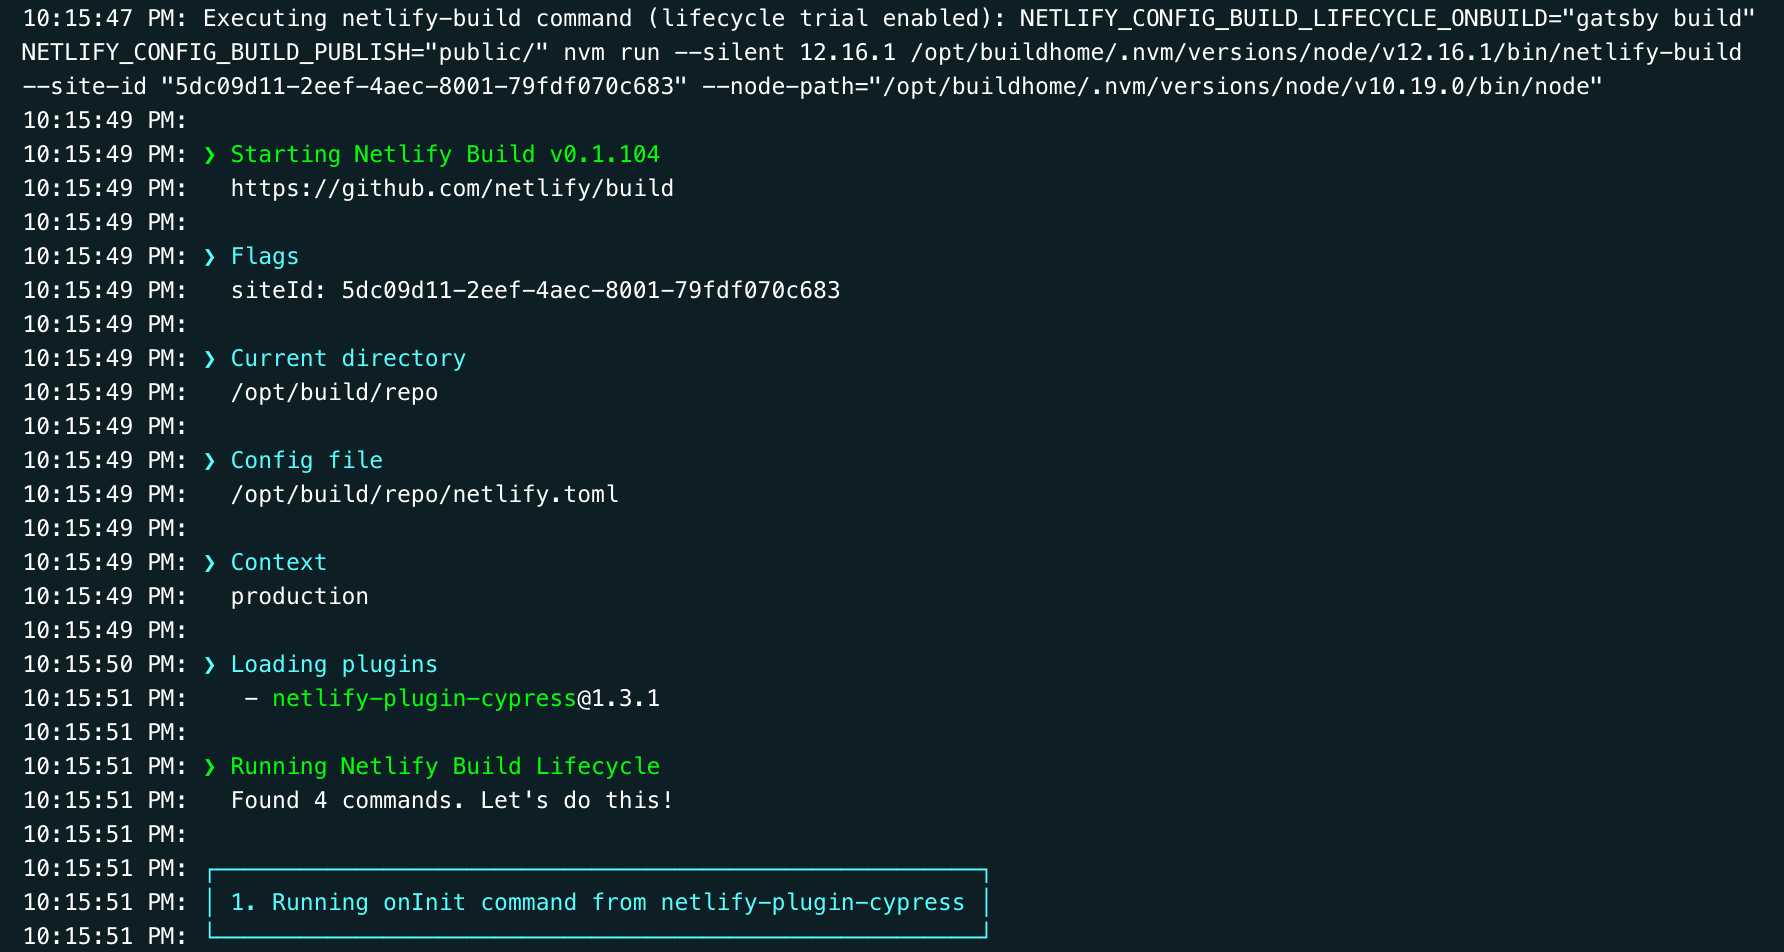
Even the build command is beautiful 🌷.
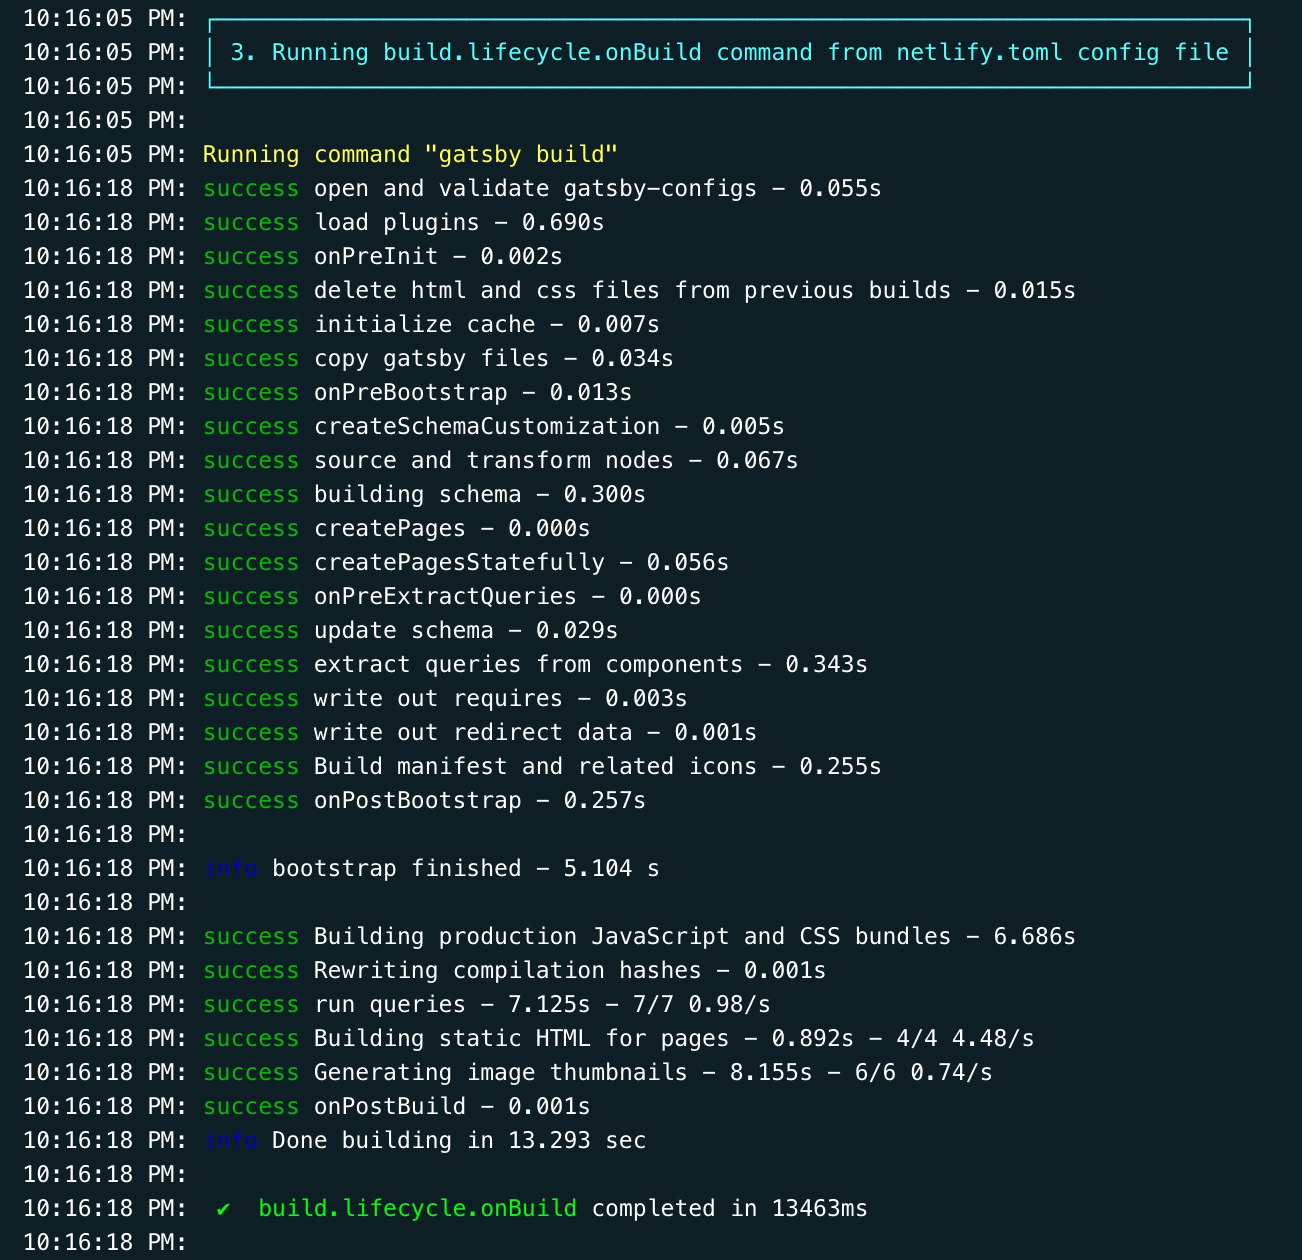
gatsby build section called by the built-in build pluginBut the most interesting part comes after the build - postBuild to use the plugin's official term. You can see the output from Cypress running the end-to-end tests 🎉
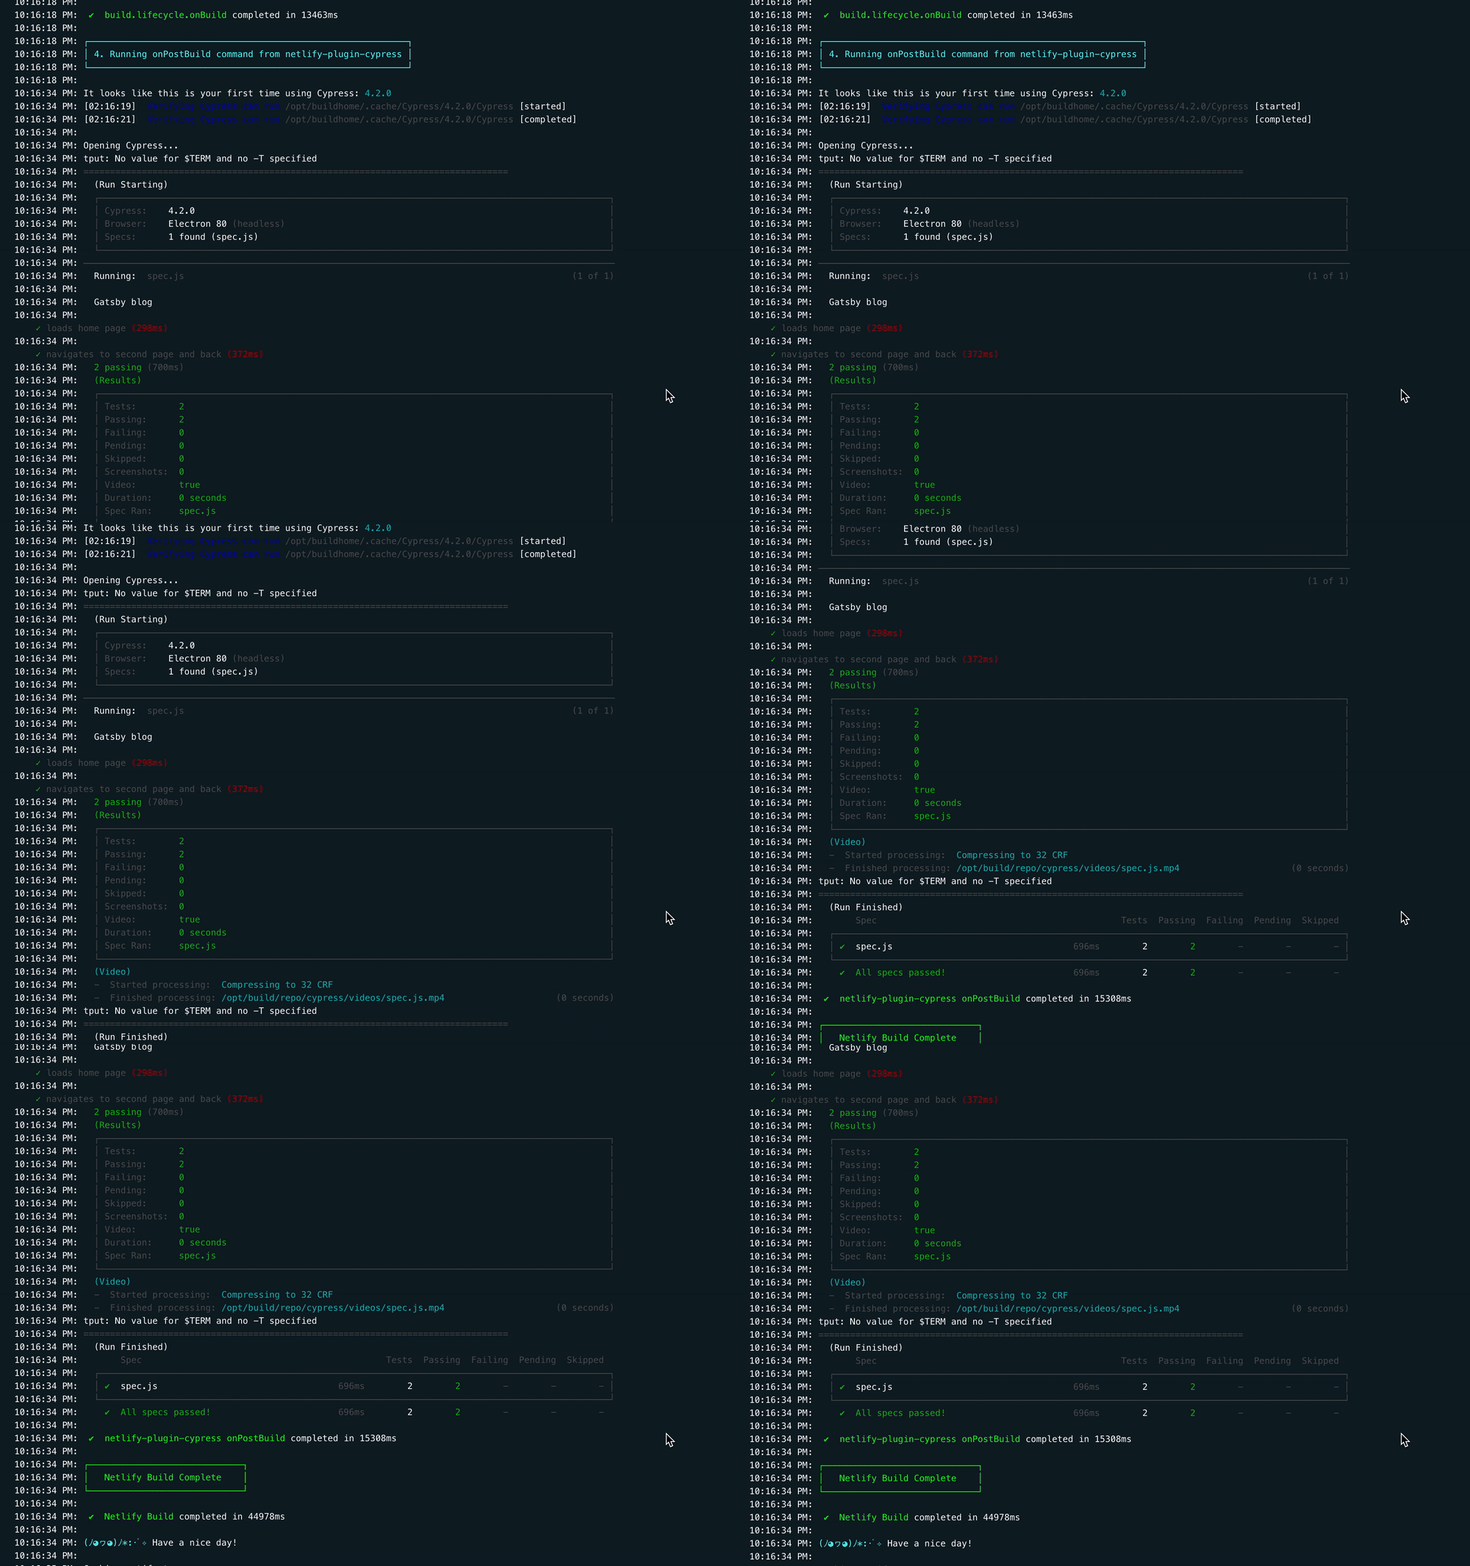
Behind the scenes, Cypress spawns a static HTTP server, serves the built public folder (using the folder path provided by the Netlify build system), runs the end-to-end tests using Cypress module API, and then shuts down the server when the tests finish. If there are failing tests, the plugin throws an error, stopping the build. The deploy is halted - and our users should not see a broken site, ever, even for a few seconds.
Recording test results
Cypress generates a video of the entire test automatically and captures image screenshots if there are any failures. These files are stored on disk, but unfortunately Netlify does not provide a way to store test artifacts. After all, it is a system geared towards deployments, not integration artifacts storage.
Luckily, you can record your test results, screenshots and videos using Cypress Dashboard. Let's see how to do this using plugin parameters. Assuming you have you project's Cypress record key, head to Netlify Deploy Settings tab, and add a new Environment variable.
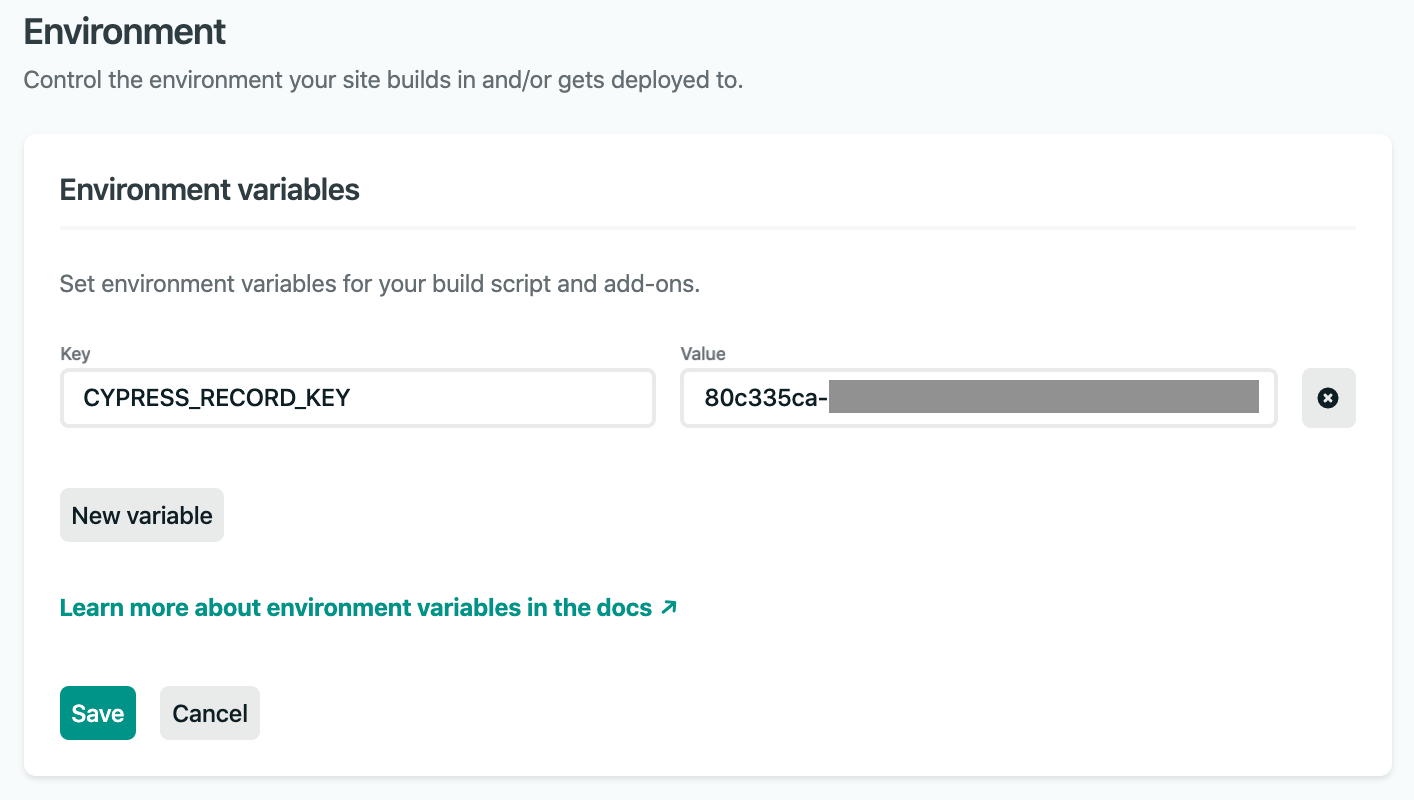
Now add the record: true to the plugin's inputs in netlify.toml like this
[[plugins]]
  package = "netlify-plugin-cypress"
  [plugins.inputs]
    record = true
Push the code again. You should see recording logs among Cypress output.

You can find Netlify Deploy Logs for this project at https://app.netlify.com/sites/netlify-plugin-cypress-example/deploys, and see all recorded runs on the Cypress Dashboard https://dashboard.cypress.io/projects/ih9cap/runs

Looks good, all passing.
More information
We really hope you find netlify-plugin-cypress useful - we think it elegantly solves the end-to-end testing problem during Netlify deploys. Look over the plugin's README - there are more things it can do! Open an issue if you hit a problem or to suggest a feature, we are just getting started 🚀
