
This blog post shows how to increase the resolution of the videos and screenshots recorded during the cypress run execution. Videos with higher resolution make debugging simpler and look better when shared with other members of the team.
The problem
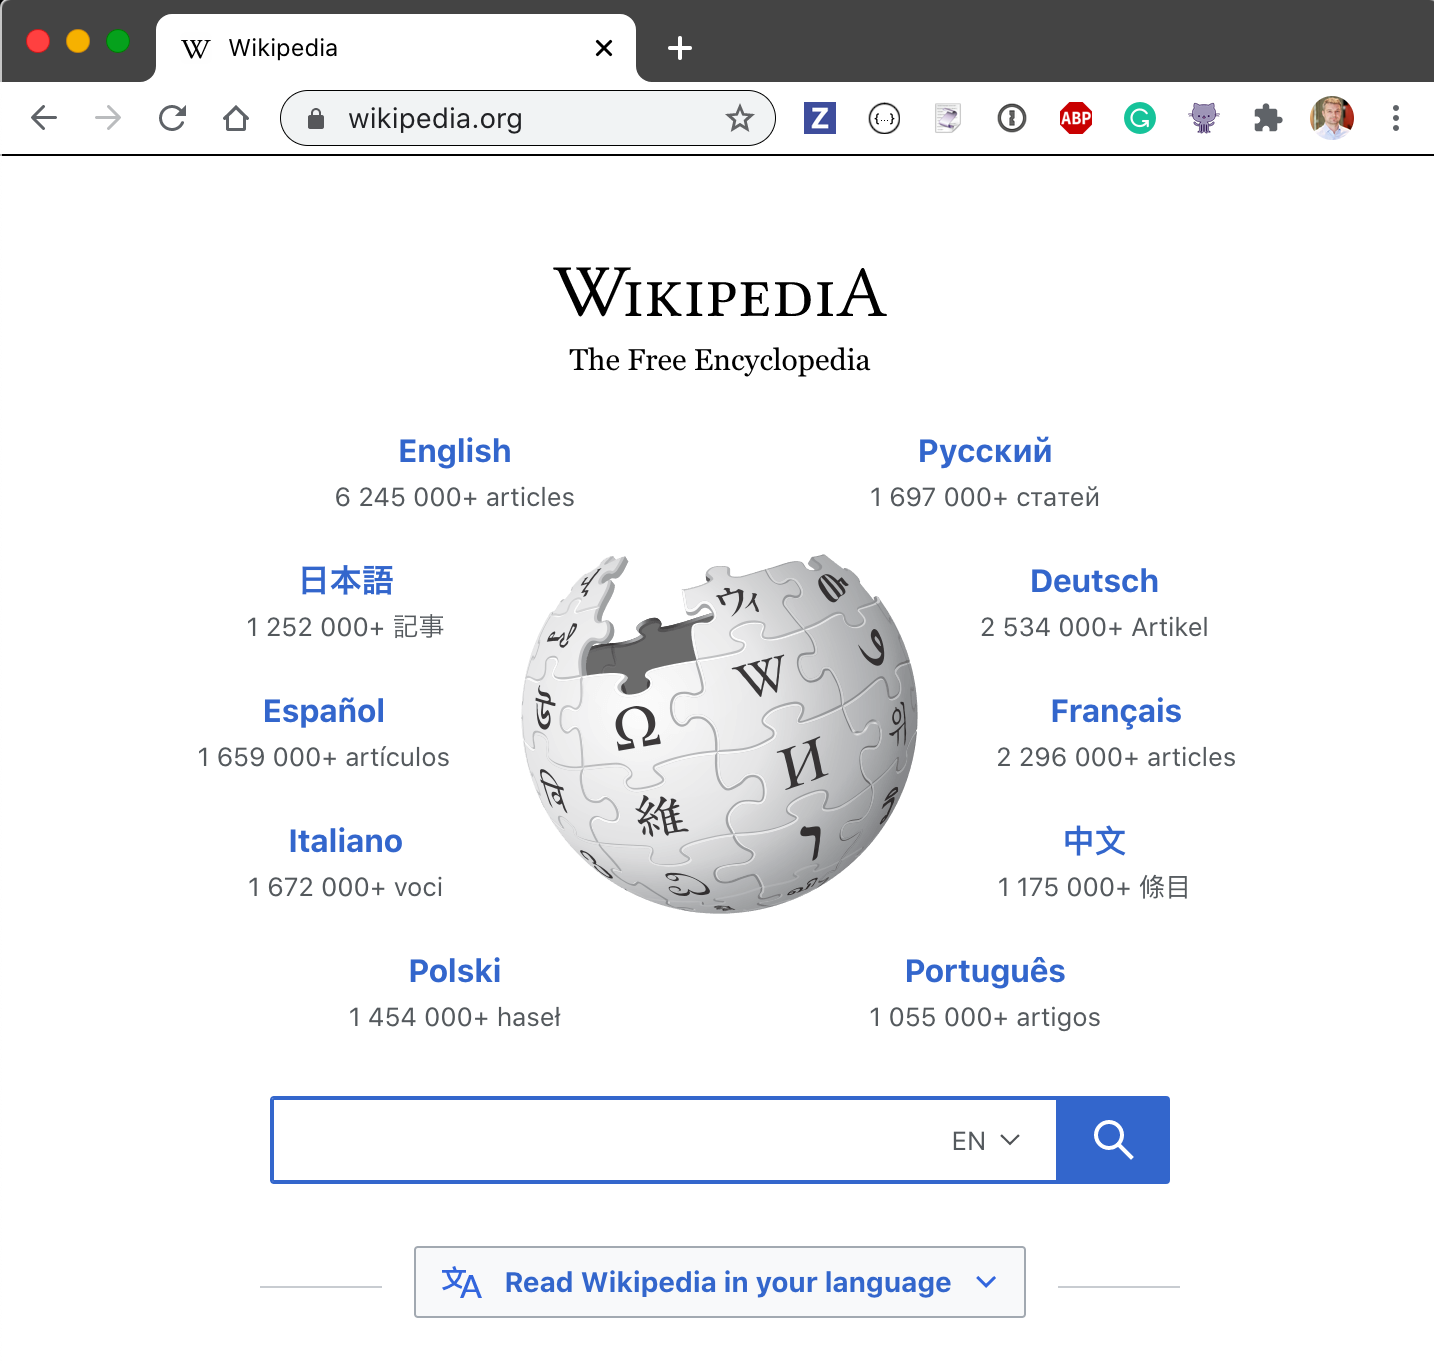
Let's look at the Wikipedia.com website. In my local Chrome browser the home page looks nice and sharp:
Let's load this page from the Cypress test.
it('loads the site', () => {
cy.visit('/')
cy.screenshot('wiki', {capture: 'runner'})
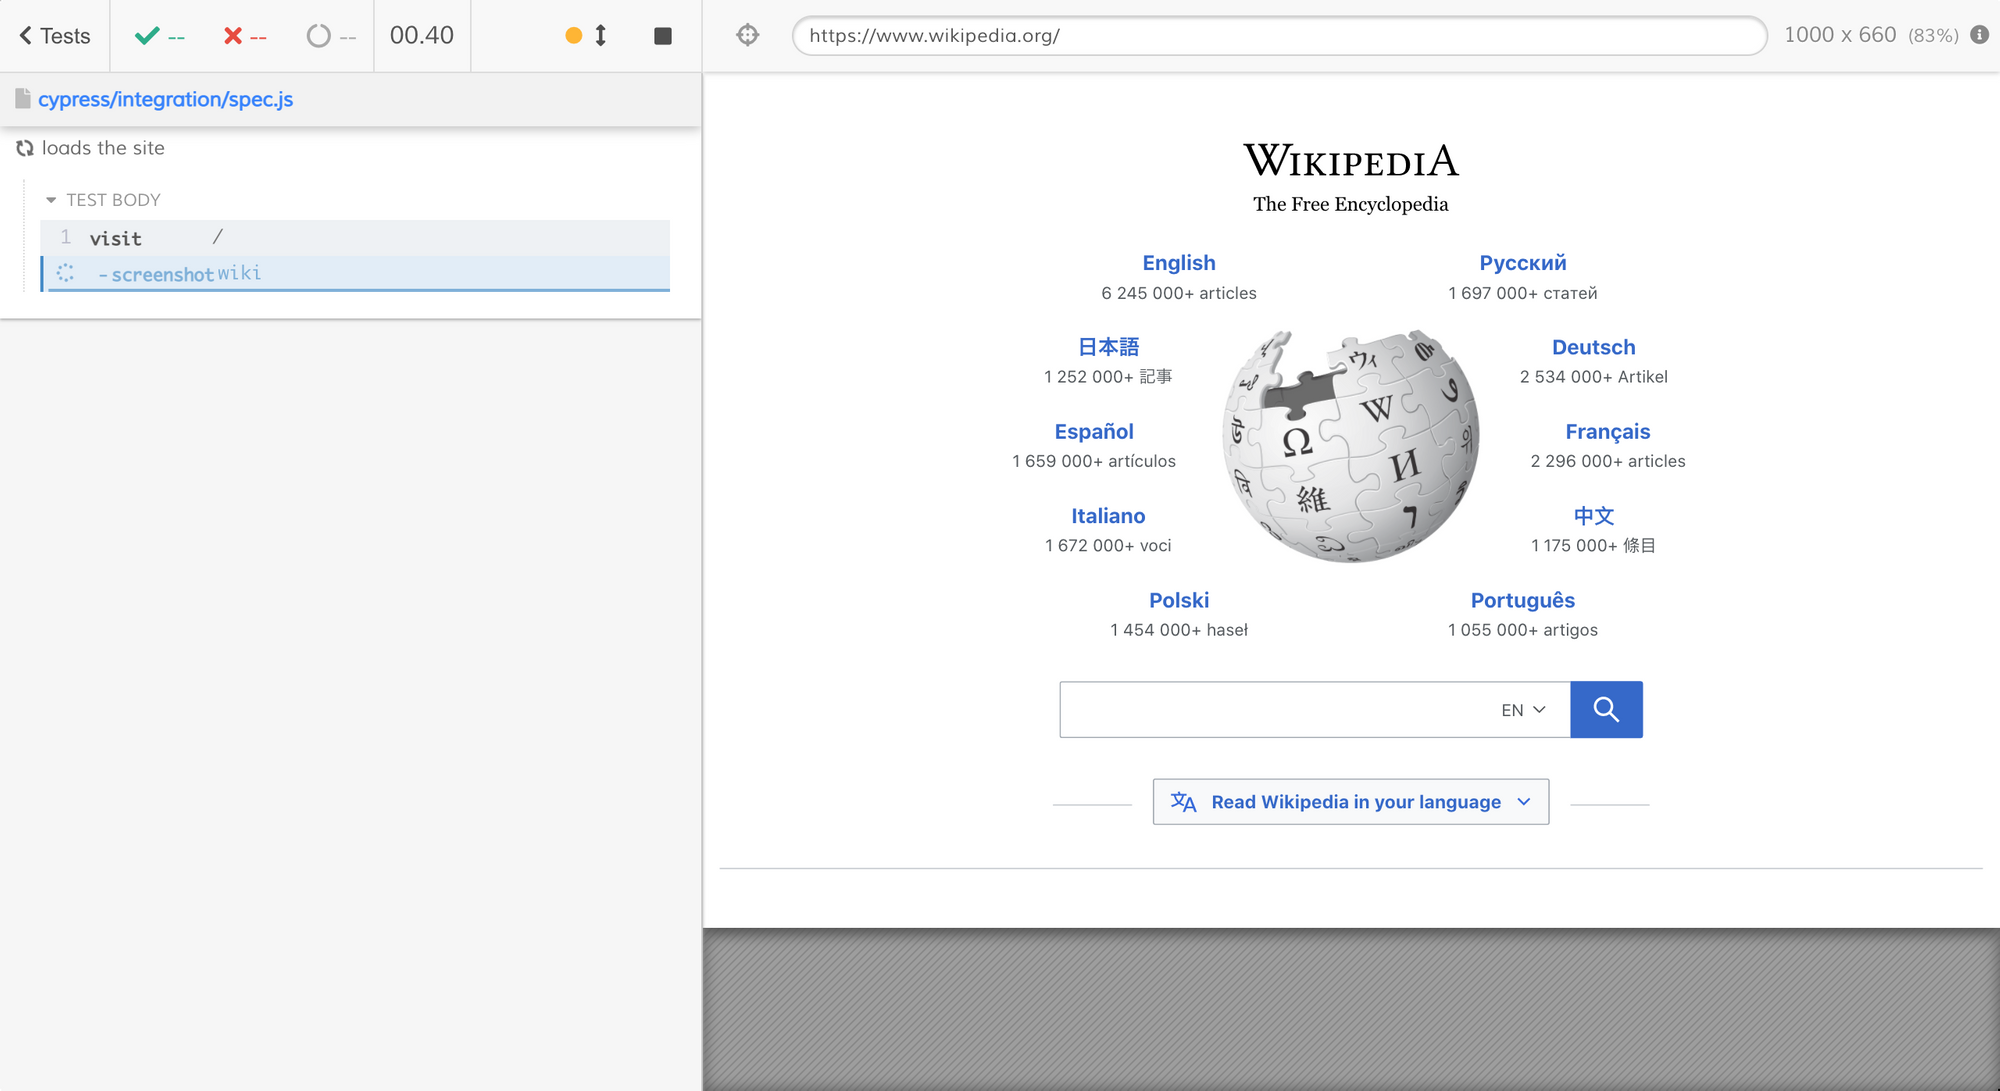
})The loaded page looks great locally in the default Cypress v6.5.0 page viewport of 1000 x 660 pixels in the Electron browser on my Mac Retina screen. The captured Test Runner screenshot looks nice - I can read the text and clearly see every puzzle piece.
Super. Let's run this test on CI. In my case I will run the tests using Cypress GitHub Action. I will also record the test artifacts on the Cypress Dashboard to watch the generated videos and the screenshots.
name: main
on: push
jobs:
  test:
    runs-on: ubuntu-20.04
    steps:
      - name: Checkout 🛎
        uses: actions/checkout@v2

      - name: Run tests 🧪
        uses: cypress-io/github-action@v2
        with:
          record: true
        env:
          CYPRESS_RECORD_KEY: ${{ secrets.CYPRESS_RECORD_KEY }}
The test runs, and we see that our browser is missing some of the languages

We can install additional fonts and try again
- name: Add Chinese fonts
  run: |
    sudo apt-get update -y
    sudo apt-get install language-pack-zh* -y
    sudo apt-get install chinese* -y

- name: Run tests 🧪
  uses: cypress-io/github-action@v2
  with:
    record: true
  env:
    CYPRESS_RECORD_KEY: ${{ secrets.CYPRESS_RECORD_KEY }}
The image now has all characters present
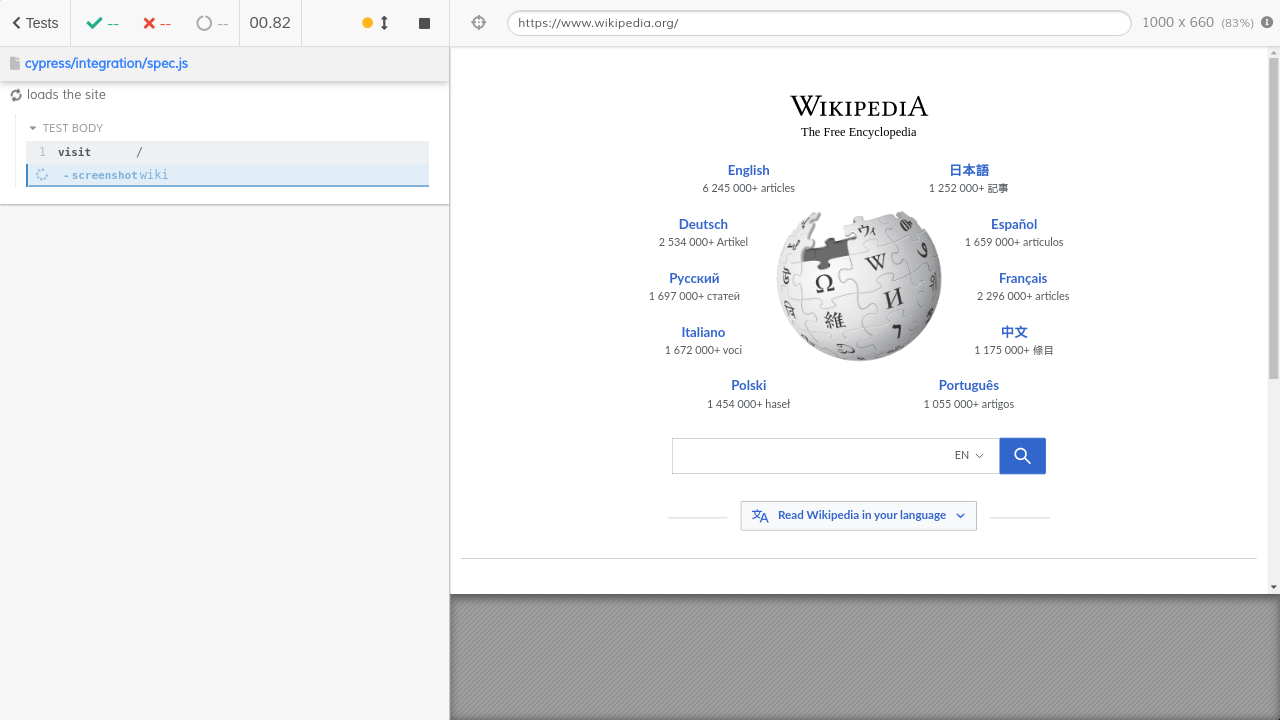
But there is still a problem with this screenshot. If you compare this image with the very first image in the post, you will see how blurry it is. Look at the puzzle pieces - they used to be crisp and precise, and now they are slightly blurry.
Depending on the CI system it could be worse. Here is another test run where the produced CI image is barely usable:
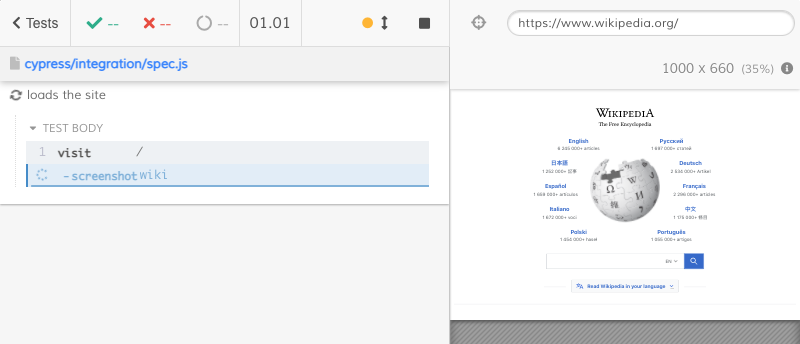
Despite the tests running with the same viewport of 1000 x 660 pixels, the above image is unreadable.
Viewport vs Window
When Cypress takes a screenshot, it reports its resolution (the number of columns and rows of pixels in the saved images) in the terminal. For example, the above illegible image has the following output in the terminal:
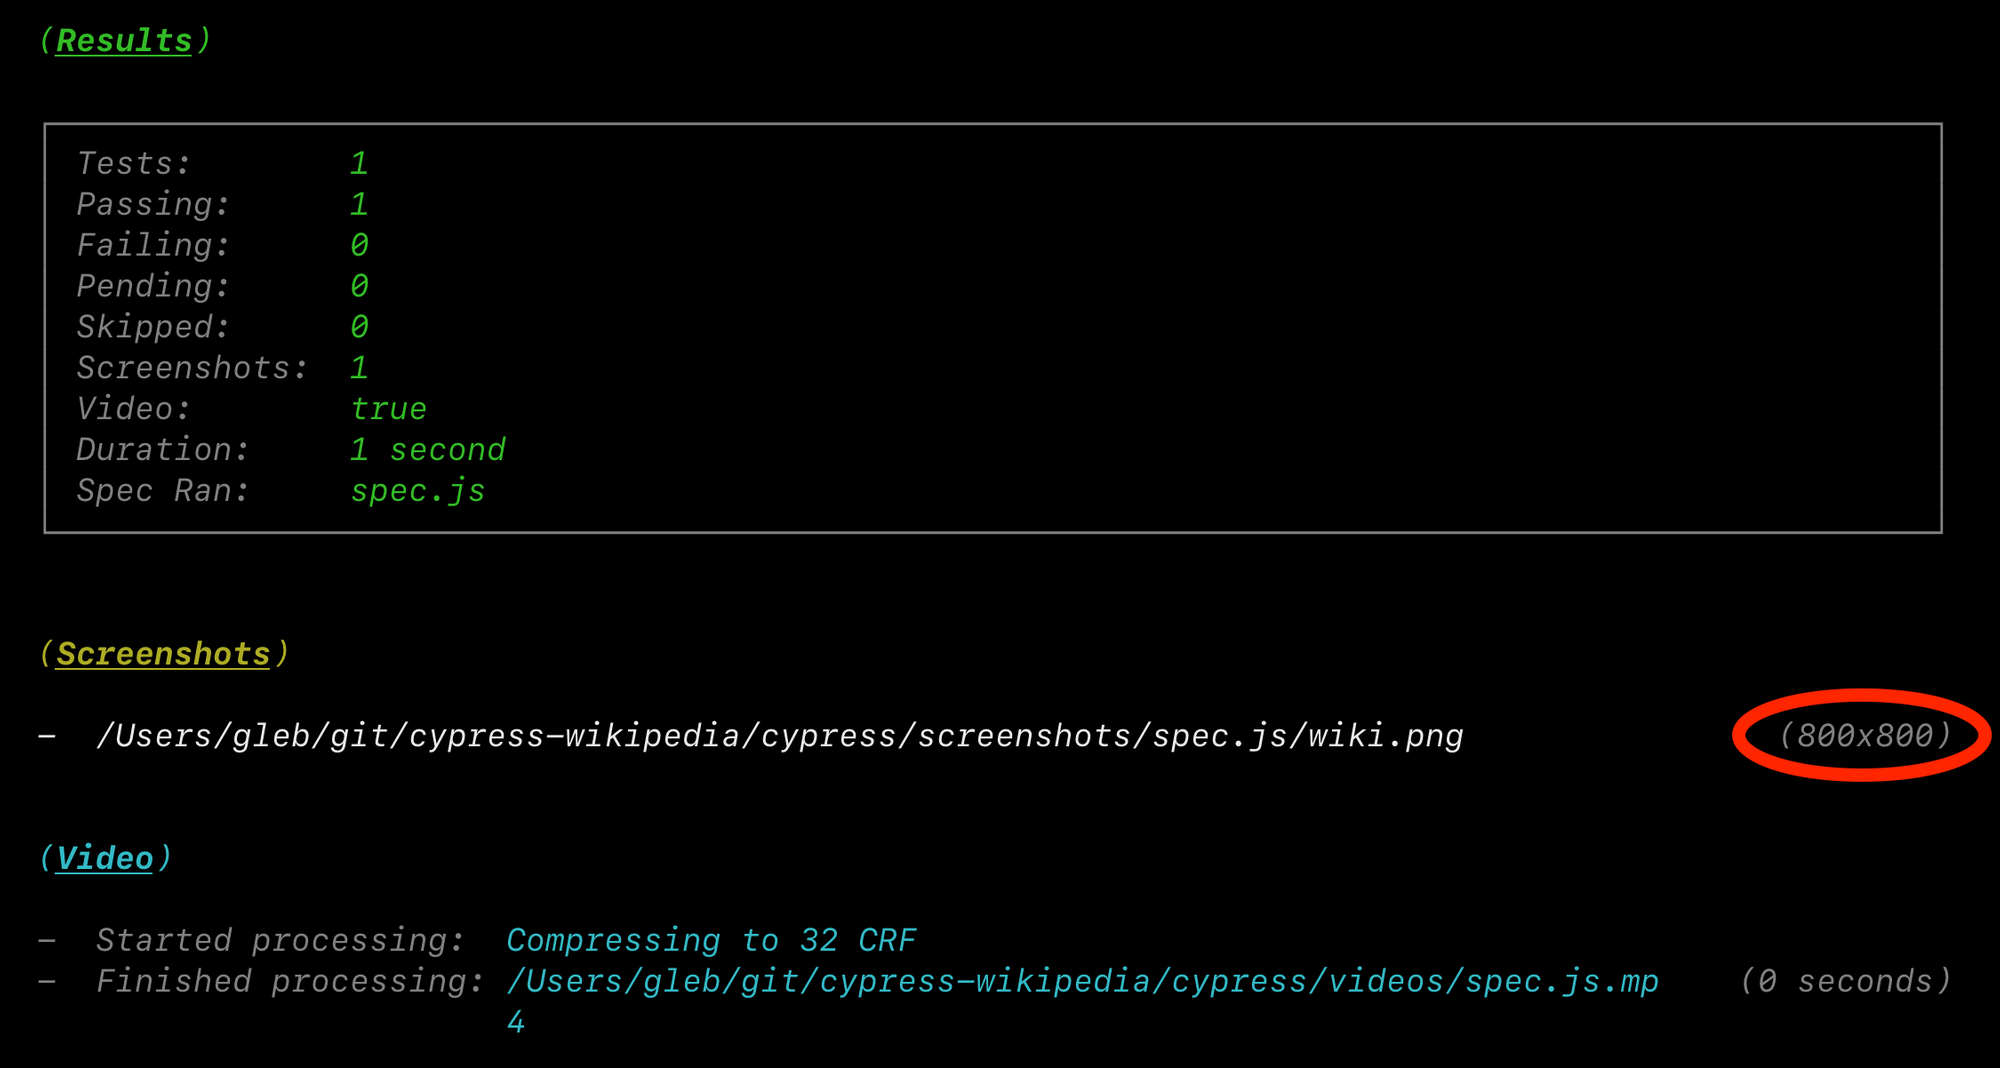
The final image is 800 by 800 pixels. But our tests run with the viewport of 1000 by 660 pixels as shown inside the screenshot itself:
These two numbers do not agree - how can a part be larger than the whole? The answer is that the application runs inside an iframe - and that iframe is scaled to fit inside the browser's window.
To better understand the sizes, let's get them from the DOM and log to the Command Log during the test run. I will add a utility function that prints the top window size, the application's iframe size, and the command log's size.
const logSizes = () => {
  // let's get the total opened browser dimensions
  const windowWidth = window.top.innerWidth
  const windowHeight = window.top.innerHeight

  cy.log(`browser window is: **${windowWidth} x ${windowHeight}**`)

  // part of the browser window is taken up the command log
  const commandLog = window.top.document.querySelector('.reporter-wrap')
  const commandLogWidth = commandLog.offsetWidth
  const commandLogHeight = commandLog.offsetHeight

  cy.log(`command log is: **${commandLogWidth} x ${commandLogHeight}**`)

  // the app thinks it has the following dimensions
  cy.window({ log: false }).then((win) => {
    // the application is scaled to fit into its iframe
    // and the iframe's dimensions are
    const iframe = cy.state('$autIframe')
    const iframeWidth = Math.round(iframe.width())
    const iframeHeight = Math.round(iframe.height())

    cy.log(`app iframe real size is: **${iframeWidth} x ${iframeHeight}**`)

    // the application thinks it has the window of the follow size
    // which is the "viewport" numbers
    const viewportWidth = win.innerWidth
    const viewportHeight = win.innerHeight

    cy.log(`app viewport is: **${viewportWidth} x ${viewportHeight}**`)
  })
}

it('loads the site', () => {
  cy.visit('/')
  logSizes()
  cy.screenshot('wiki', { capture: 'runner' })
})
Here is a screenshot of the Test Runner when running locally - remember, this is where I can resize the browser's window by dragging it.
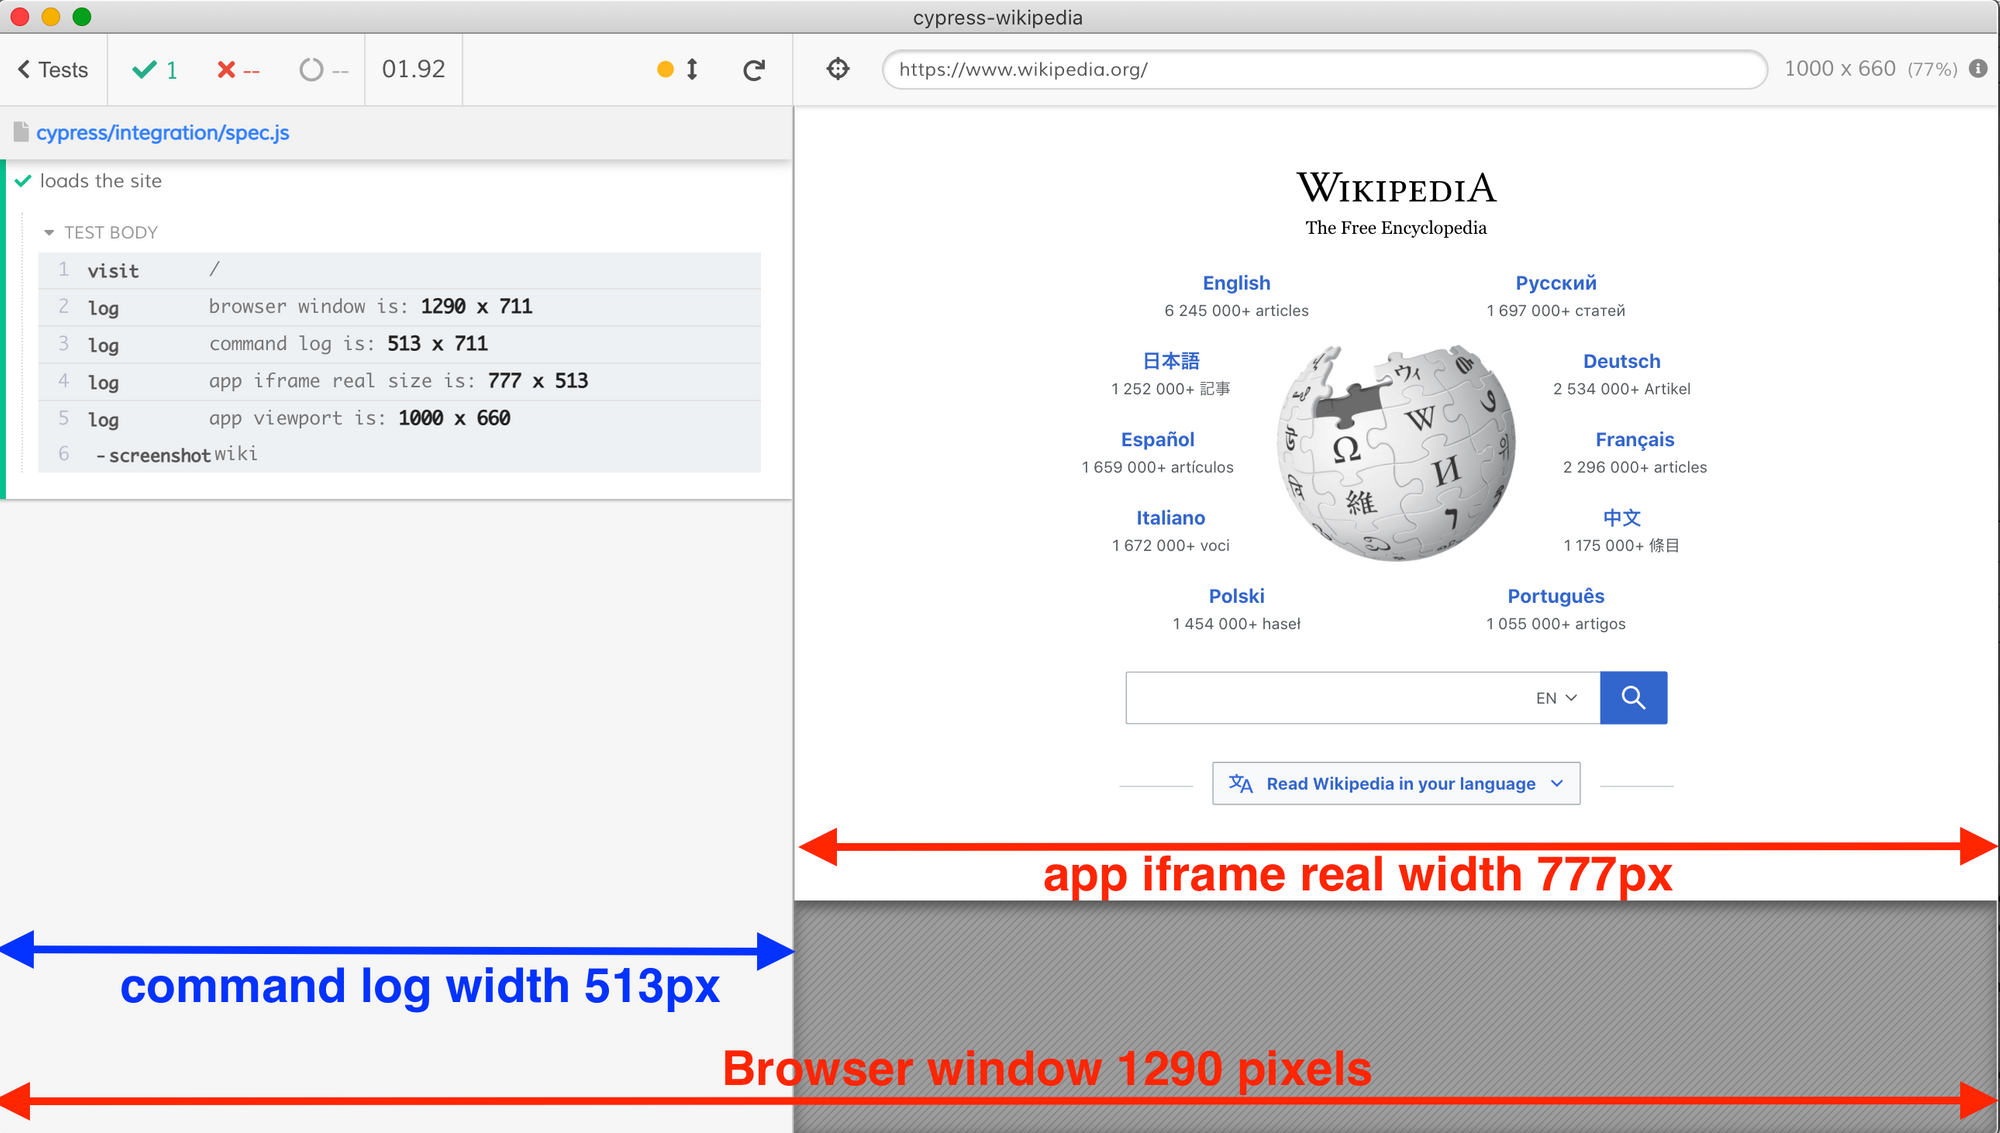
The total browser window size is 1290px which in this layout is the exact sum of the Command Log's and the App Iframe's widths: 513px + 777px = 1290px.
We can resize the window to break the equality. I have dragged the Command Log's edge inside the browser window, and made the entire window shorter. I re-ran the test to get the updated numbers.
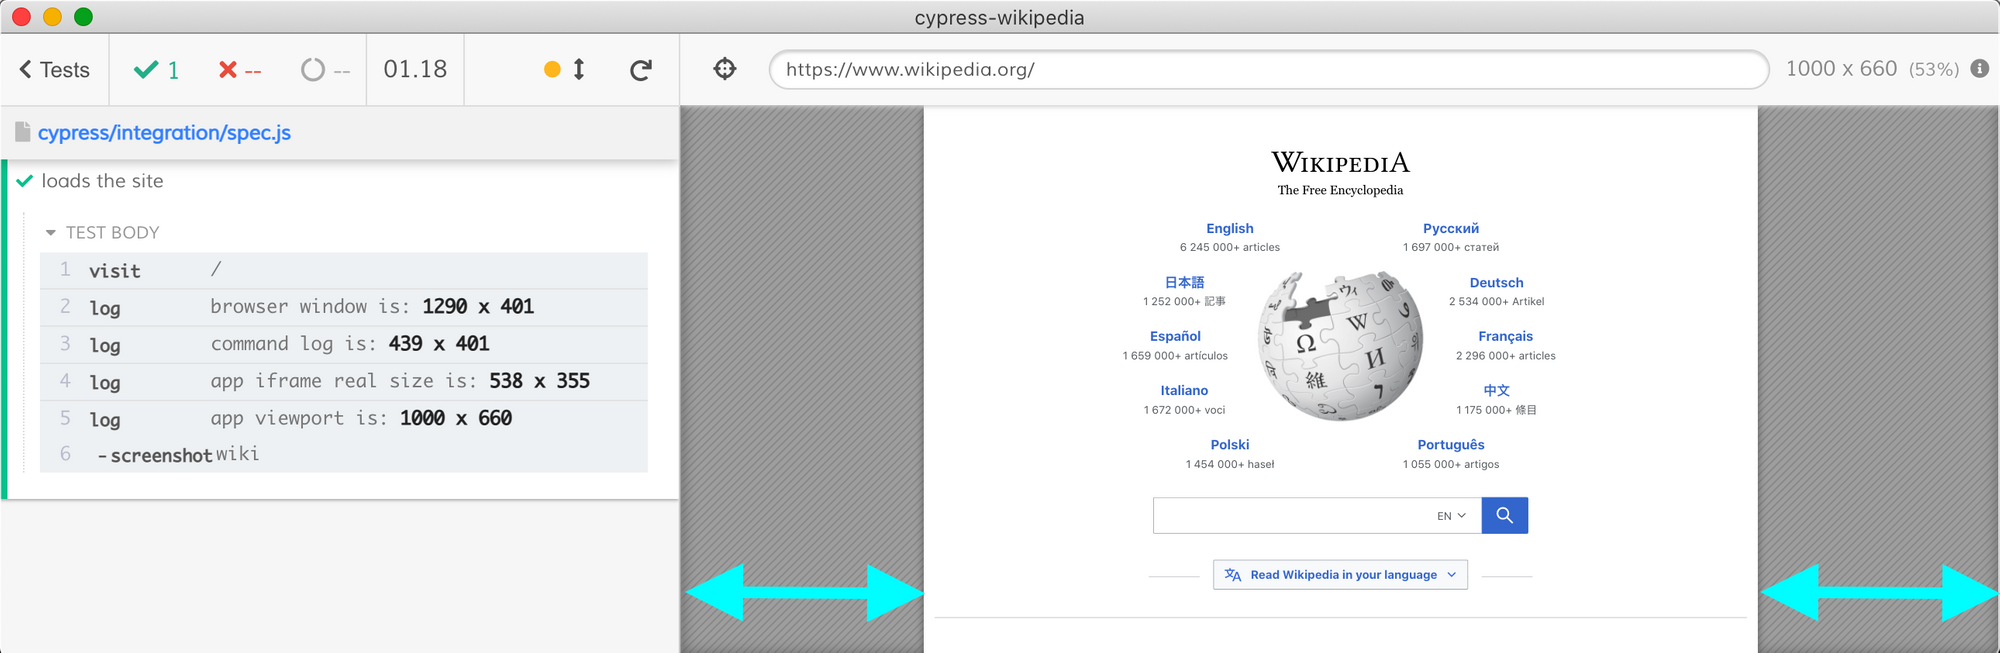
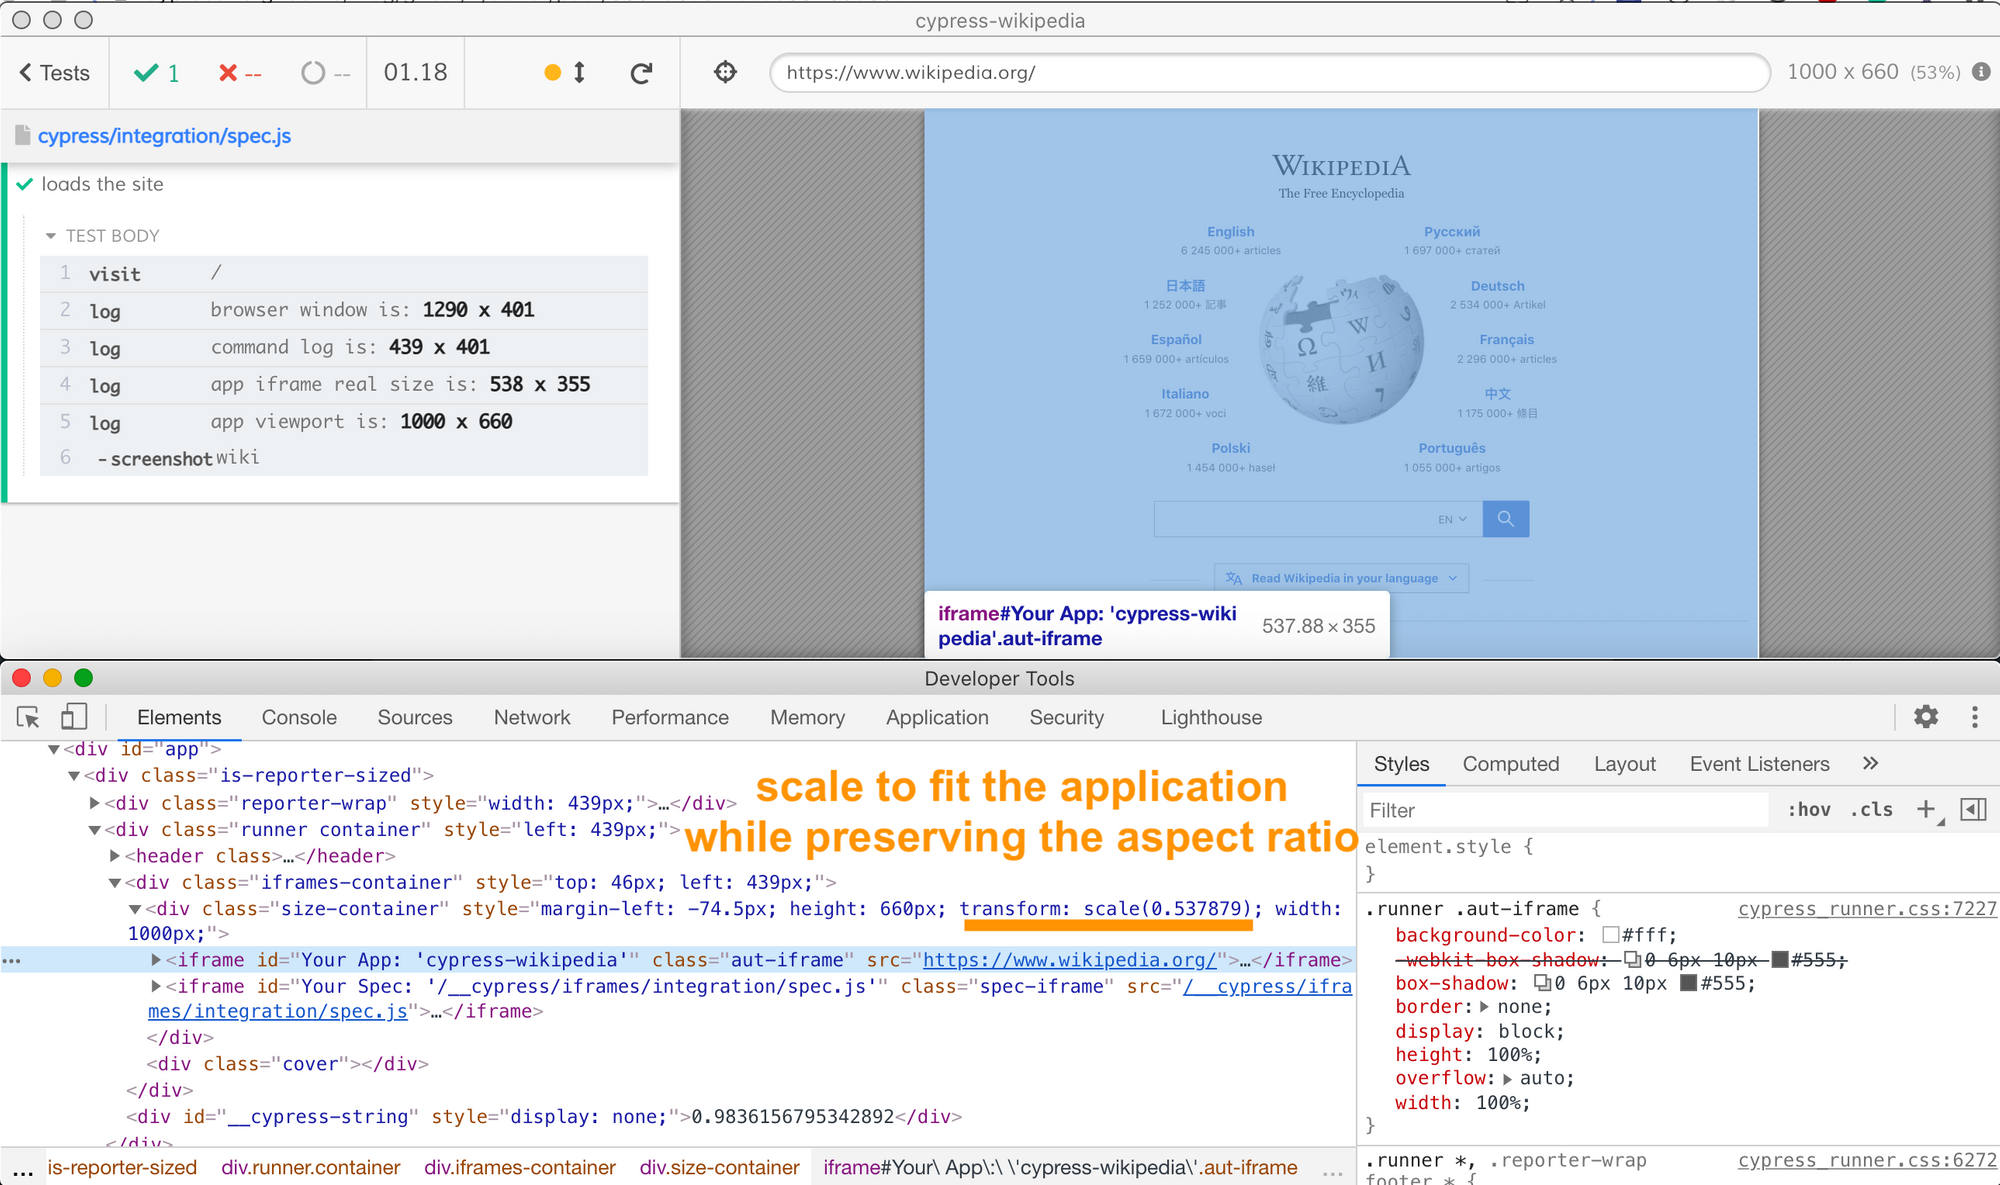
In this case, the total browser window width is still 1290px, the Command Log has width of 439px and the application's iframe is only 538px. Notice that together the Command Log and the application's iframe take up less than the entire browser window's width - and that's why there are extra padding columns marked with blue arrows.
If we open the DevTools console and inspect the iframe element, we can see the same number, and we can also see how its parent element scaled it down to preserve the internal "1000x660" viewport size to fit into the available region.
Let's resize the browser window, all the way to a very small size. The entire page is scaled down, squeezing more and more, until it is completely blurry.
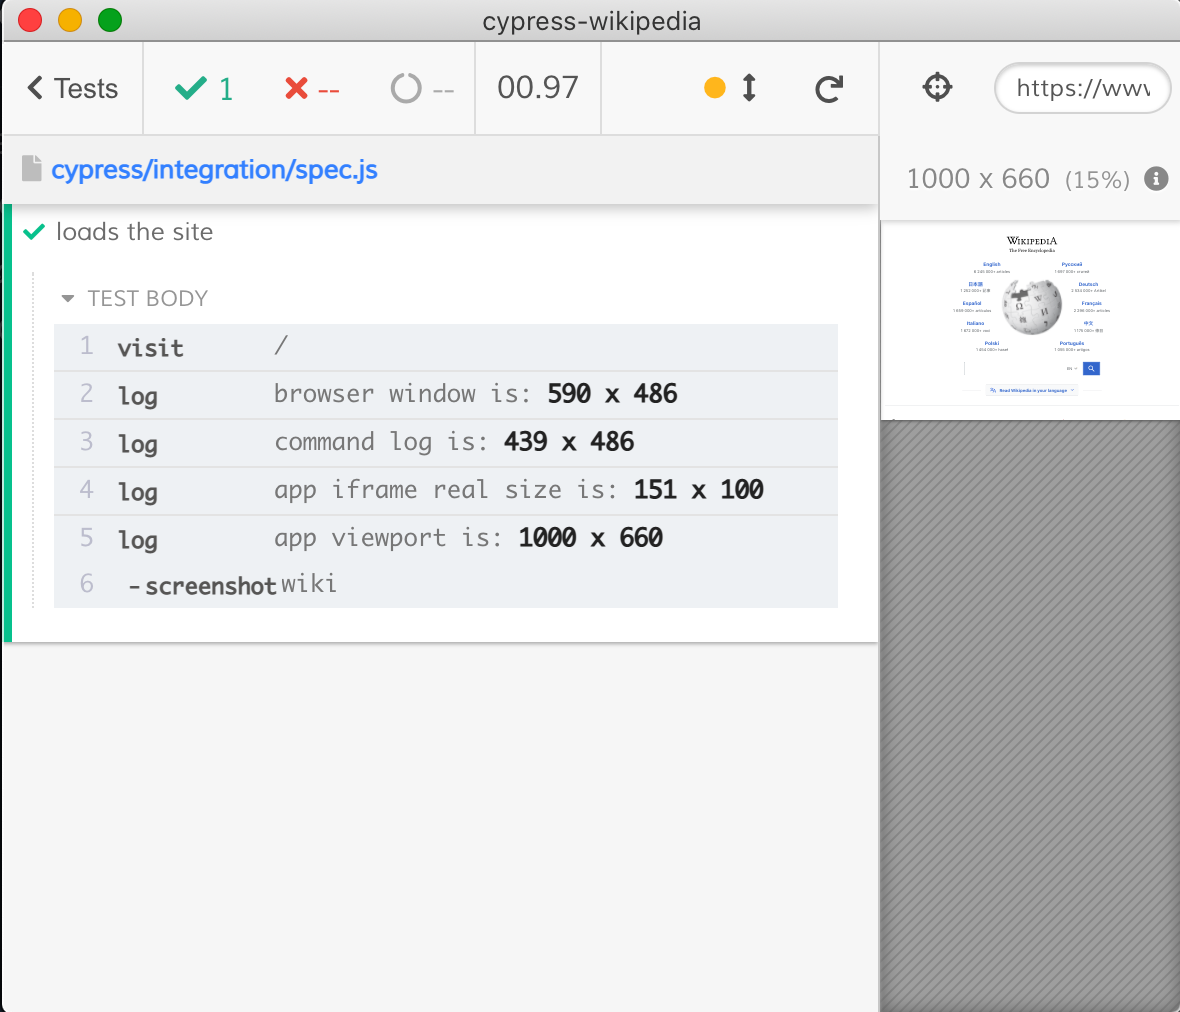
Yet, the application still thinks it has the full 1000x660 pixels screen to render - which is good, the application renders the "normal" desktop view regardless of the Test Runner's window size.
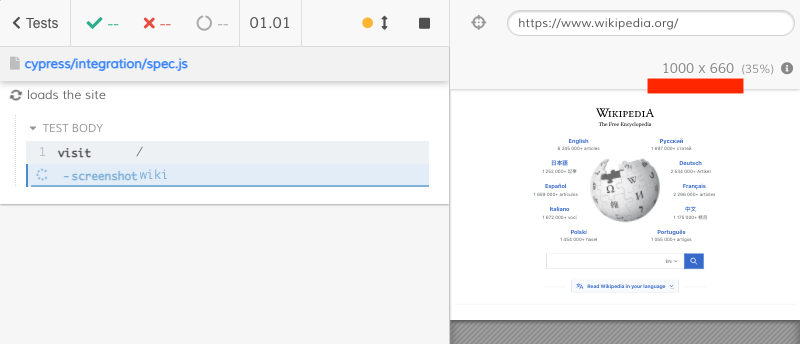
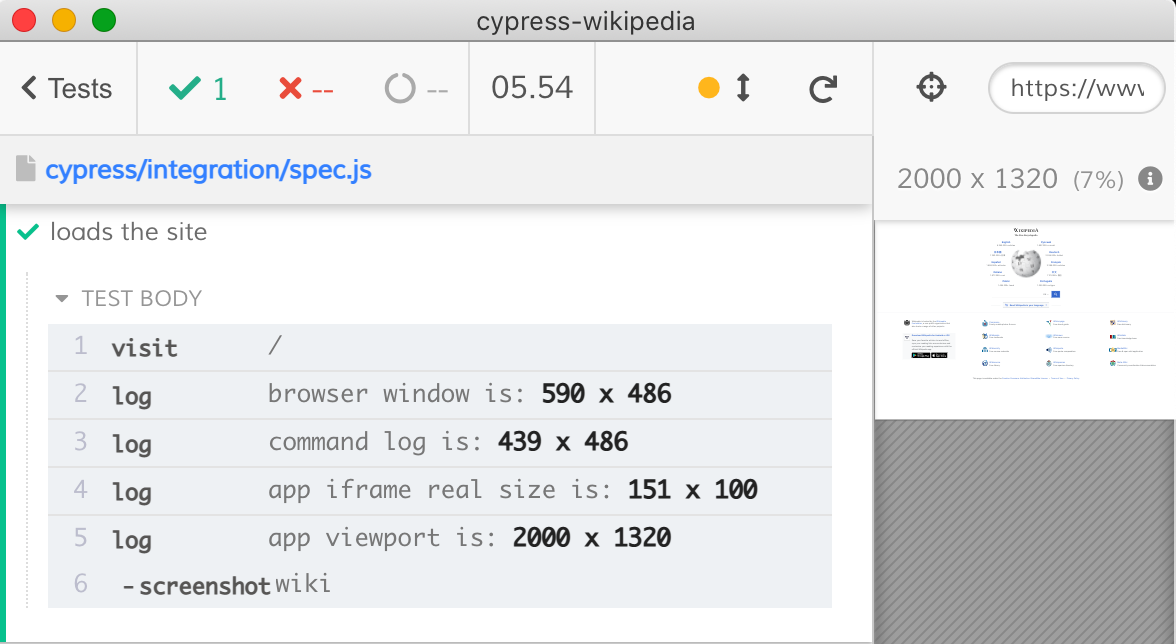
So we can see that if we want higher resolution videos and screenshots from Cypress tests we cannot simply increase the viewport height and width settings - the application's internal window will grow larger but it will be just scaled more to fit into the real iframe. In the image below I increased the viewport size 2x, but it still is drawn inside the tiny area of 150px by 100px!
Increase the Window Size
The only way to see more pixels in the application's area is to increase the total browser window. When running the Test Runner locally with cypress open you can drag the window's corner to make it larger. You can also drag the Command Log to make it narrower, freeing up more pixels for the application.
Here is the resized window with 1337px width.
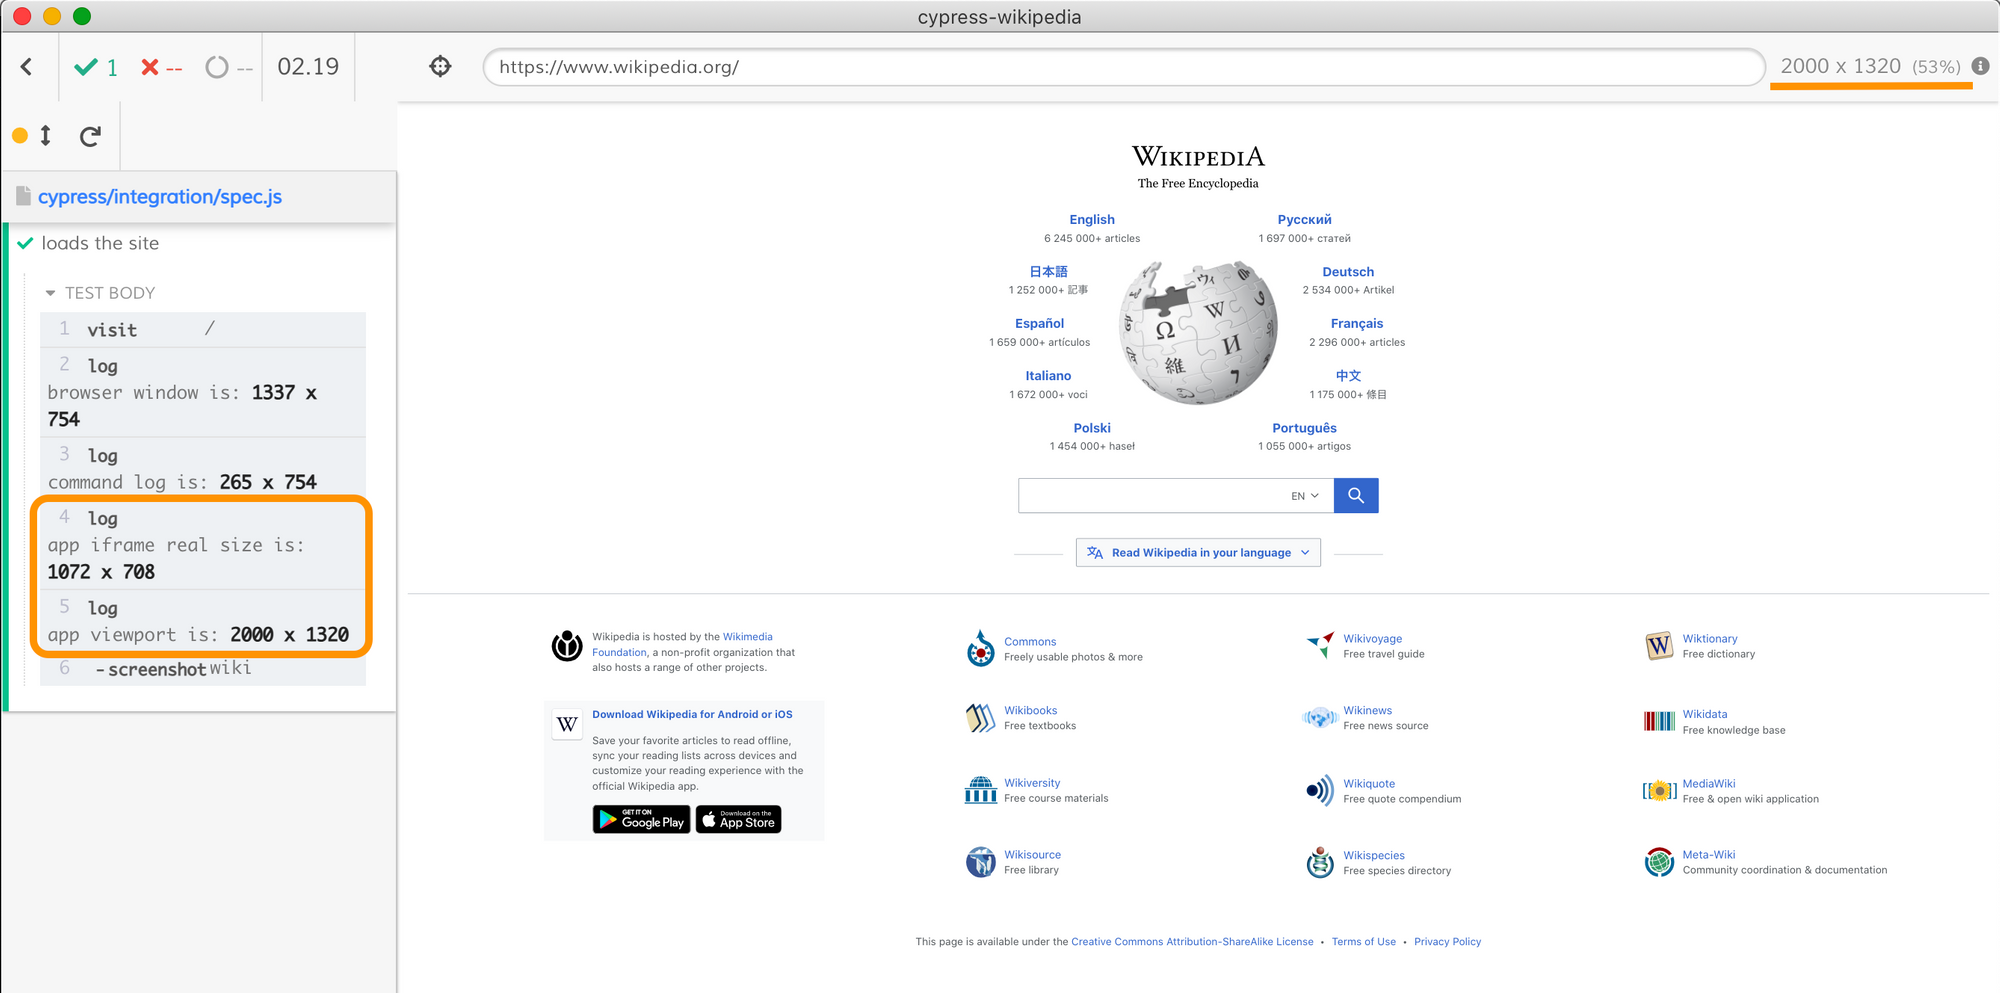
Notice that the application's iframe is around 1000px which is half of what the application can render (the viewportWidth is set to 2000 in cypress.json). The Test Runner shows how much it is scaled down next to the viewport size. In this case it shows a 53% scale factor. Thus the application could render even better if we increase the browser's window further. We need a larger monitor!
The Window Size on CI
The most important place we need to increase the browser's window is on CI. Most of the time, the browser opens with the default 1280x720 size, but on many Linux systems the maximum window size is limited by the available XServer; in some cases the browser window can be less than 1024 pixels wide 😧.
The most reliable way we have found to launch the browser with high resolution is by launching not the built-in Electron browser, but a headless external browser like Chrome, Edge, or Firefox. You can set the desired browser size from the plugins file via browser launch API. In our project we add the following code to cypress/plugins/index.js
// let's increase the browser window size when running headlessly
// this will produce higher resolution images and videos
// https://on.cypress.io/browser-launch-api
on('before:browser:launch', (browser = {}, launchOptions) => {
  console.log(
    'launching browser %s is headless? %s',
    browser.name,
    browser.isHeadless,
  )

  // the browser width and height we want to get
  // our screenshots and videos will be of that resolution
  const width = 1920
  const height = 1080

  console.log('setting the browser window size to %d x %d', width, height)

  if (browser.name === 'chrome' && browser.isHeadless) {
    launchOptions.args.push(`--window-size=${width},${height}`)

    // force screen to be non-retina and just use our given resolution
    launchOptions.args.push('--force-device-scale-factor=1')
  }

  if (browser.name === 'electron' && browser.isHeadless) {
    // might not work on CI for some reason
    launchOptions.preferences.width = width
    launchOptions.preferences.height = height
  }

  if (browser.name === 'firefox' && browser.isHeadless) {
    launchOptions.args.push(`--width=${width}`)
    launchOptions.args.push(`--height=${height}`)
  }

  // IMPORTANT: return the updated browser launch options
  return launchOptions
})
Let's tell the CI to run tests using headless Chrome browser.
- name: Run tests 🧪
  uses: cypress-io/github-action@v2
  with:
    record: true
    browser: chrome
    headless: true
  env:
    CYPRESS_RECORD_KEY: ${{ secrets.CYPRESS_RECORD_KEY }}
Tip: GitHub Actions have Chrome and Firefox browsers already installed, other CI providers can use our cypress/browsers Docker images.
Let's run the tests and look at the Cypress Dashboard project. The screenshot looks sharp.
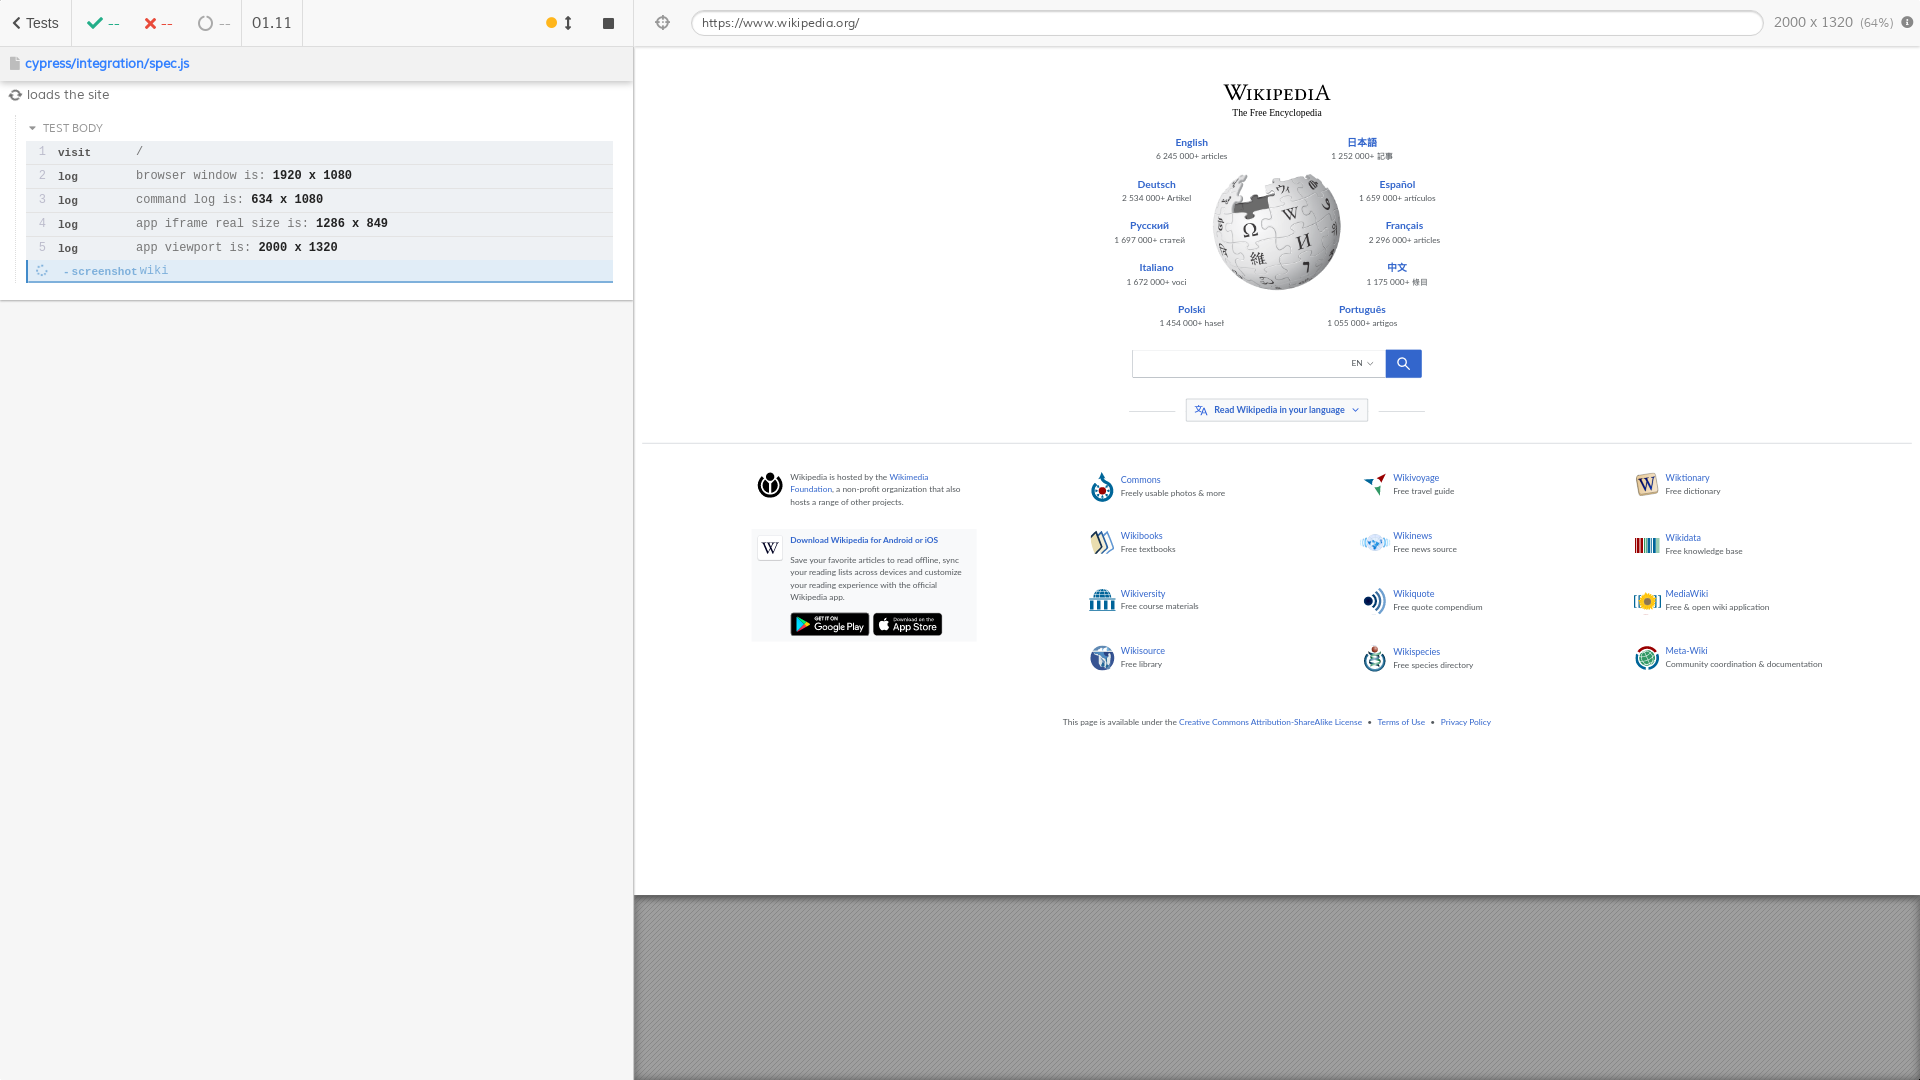
The browser window is what we expected it to be - the image (and the video) are high definition 1920x1080 pixels. The Command Log takes up 634 pixels, leaving plenty of pixels for the application to nicely render its text and all the pretty puzzle pieces.
Tip: when you are recording the high resolution video, do not lower its quality by compressing it too much. Use the configuration parameter videoCompression to control the output quality.
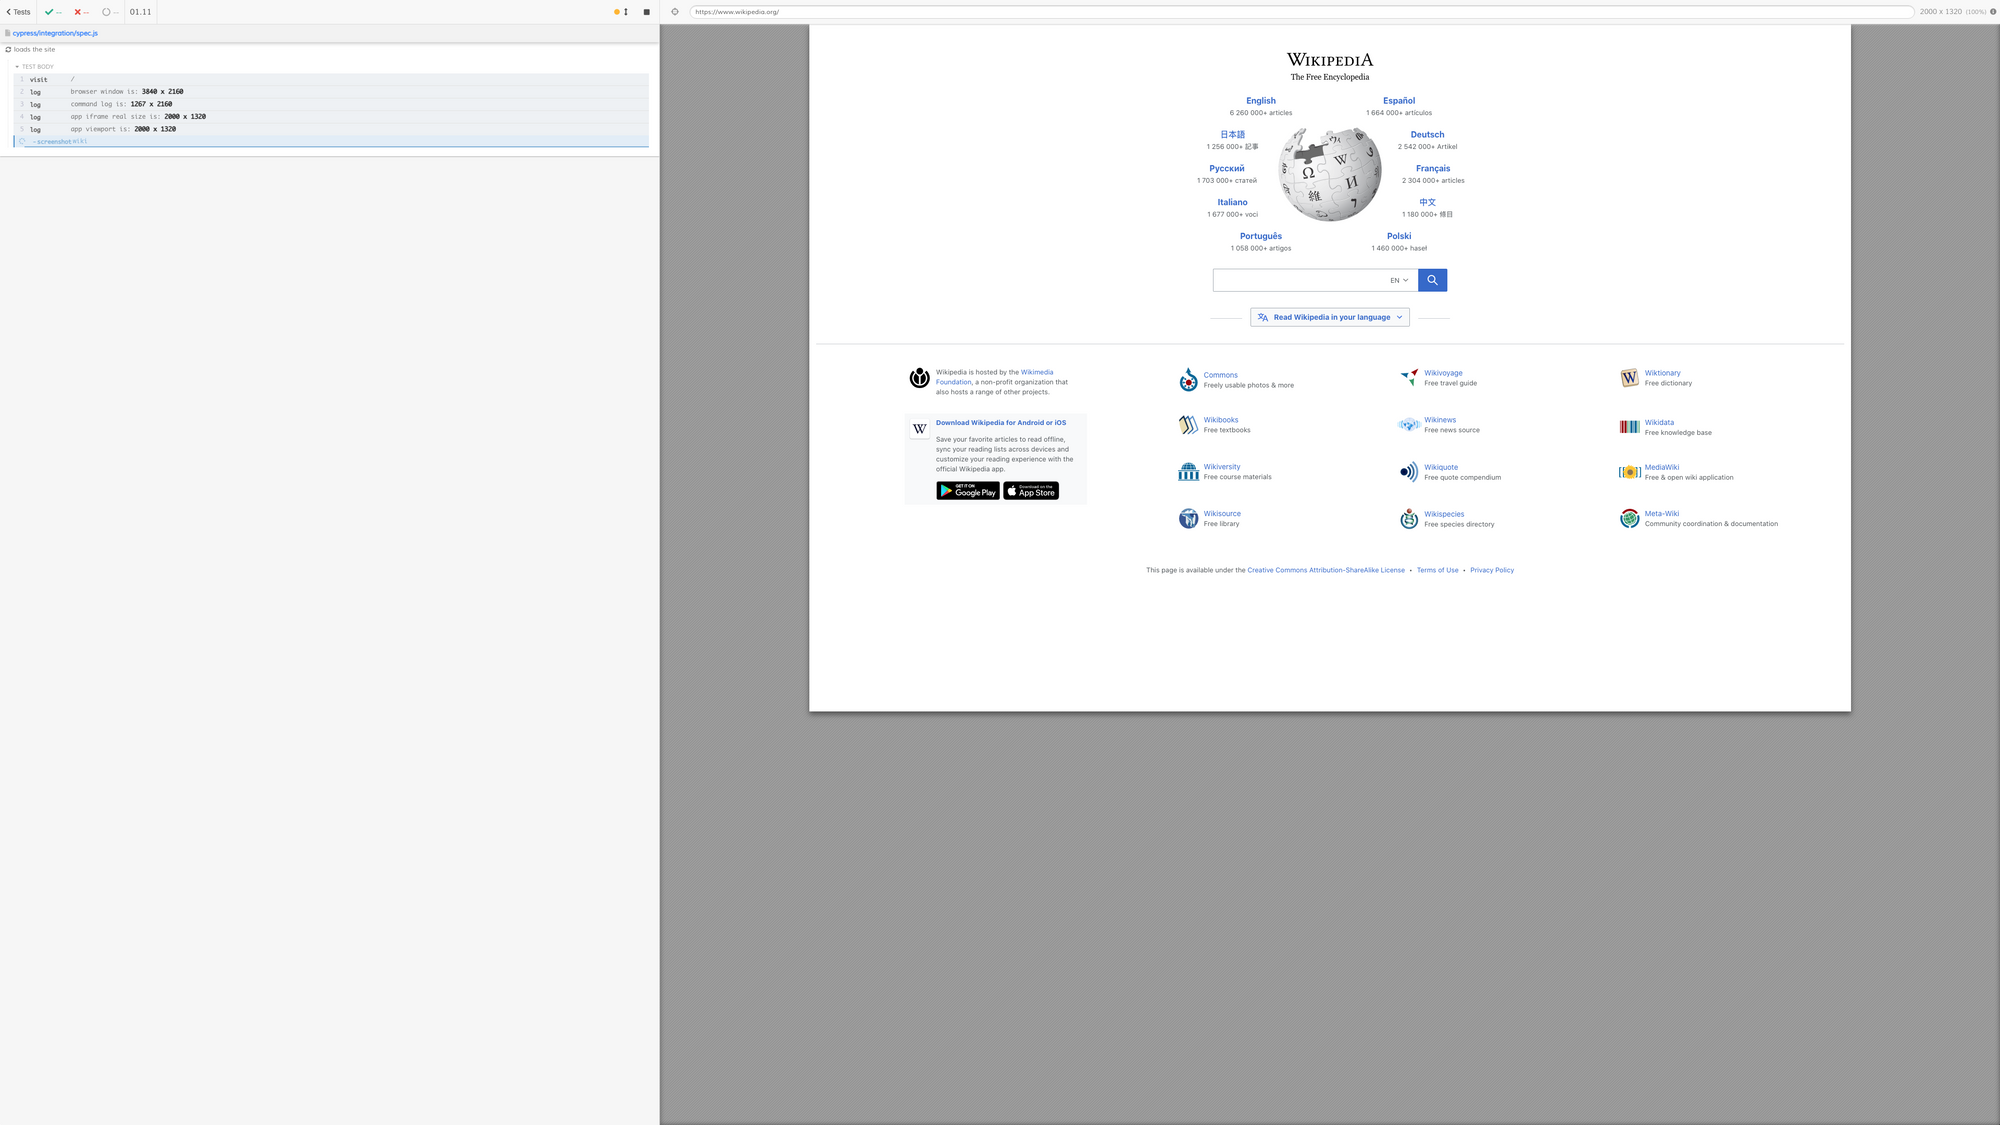
Bonus 1: 4K
You can go to a higher resolution if needed. For example, you can generate the 3840x2160 videos and screenshots using headless Chrome, see pull/3. The screenshot is showing the viewport of 2000x1320 pixels as is, without any scaling.
Links
- The source code shown in this blog post is available in the bahmutov/cypress-wikipedia repo.
- You can also find similar advice and code in our Video resolution recipe.
- I have recorded a short video showing the pixel sizes discussed above
- The GitHub issue #587 is the place to discuss the output resolution and propose ideas for improvement.
- High resolution videos of the test runs can be useful in other ways, like showing the current status of the application. Take a look at the cypress-movie project that tries to make the app demos from the test recordings.